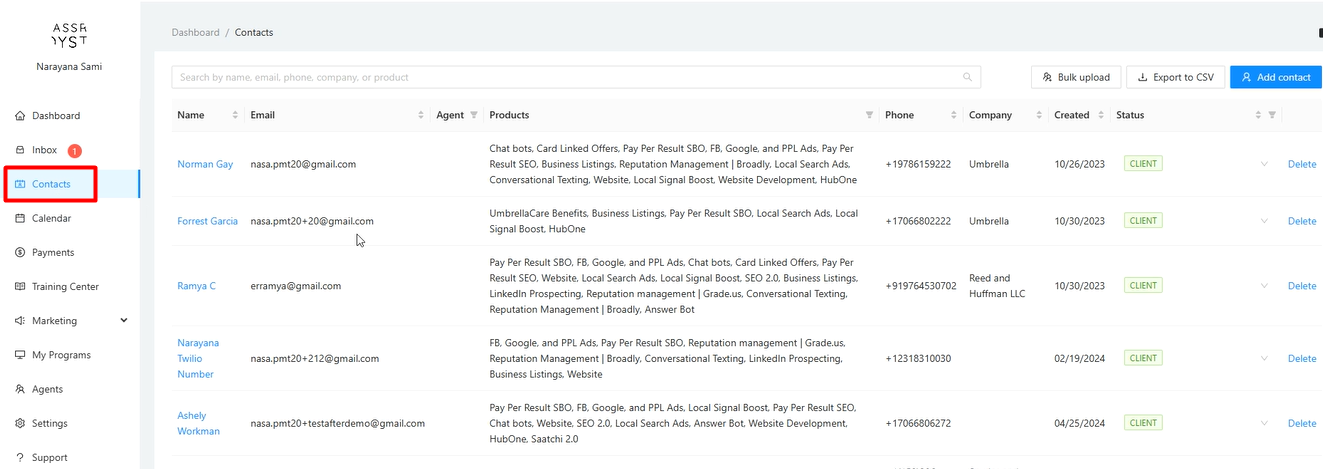
1. How do I access the Contacts section?
Click on Contacts in the main left-hand navigation menu.
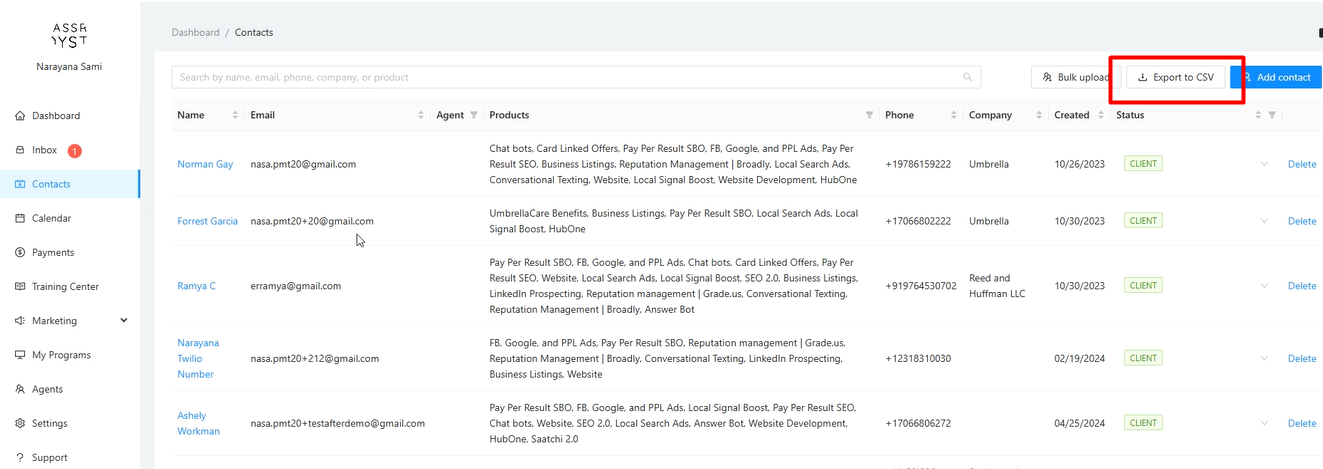
2. What information is displayed on the main Contacts list?
The list shows your contacts with several columns of information:
Name: The contact's name. Clicking the column header sorts alphabetically. Clicking a contact's name opens their detailed profile (covered in a separate guide).
Email: The contact's primary email address.
Agent: The assigned internal team member (if applicable). You can filter the list by agent.
Products: Products or services associated with the contact. You can filter by specific products
Phone: The contact's primary phone number.
Company: The contact's associated company name.
Created: The date the contact was added to the system.
Status: The current stage of the contact (e.g., Client, Lead, Opportunity, New). You can filter by status.
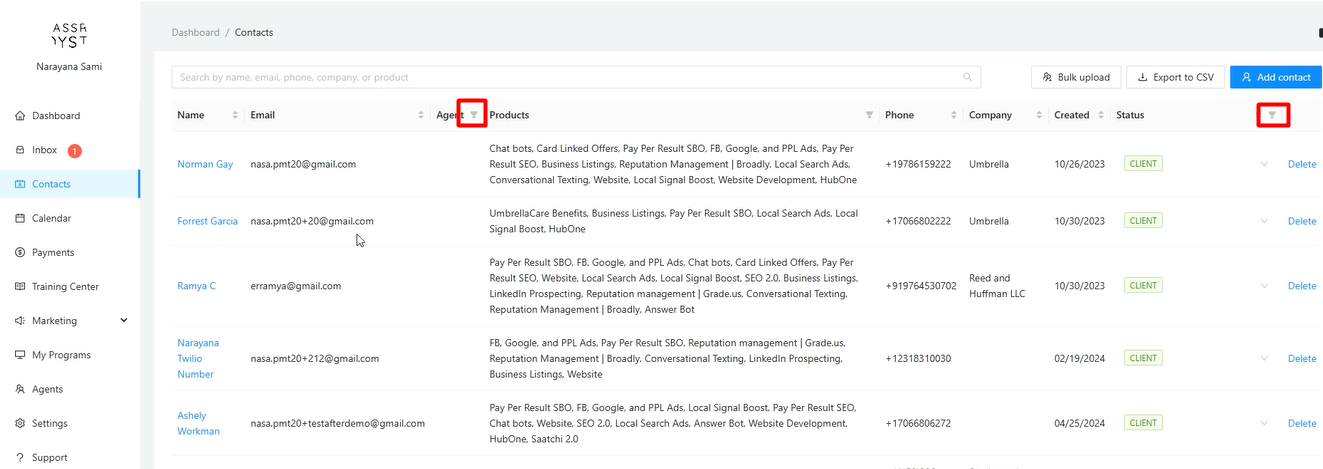
3. How can I filter my Contacts list?
You can filter the list to show only contacts matching specific criteria:
By Product: Click the filter icon next to the "Products" column header. Check the boxes for the products you want to see and click OK. Click Reset to clear the filter.
By Status: Click the filter icon next to the "Status" column header. Select the statuses you want to view (e.g., Opportunity, Closing, New) and click OK. Click Reset to clear.
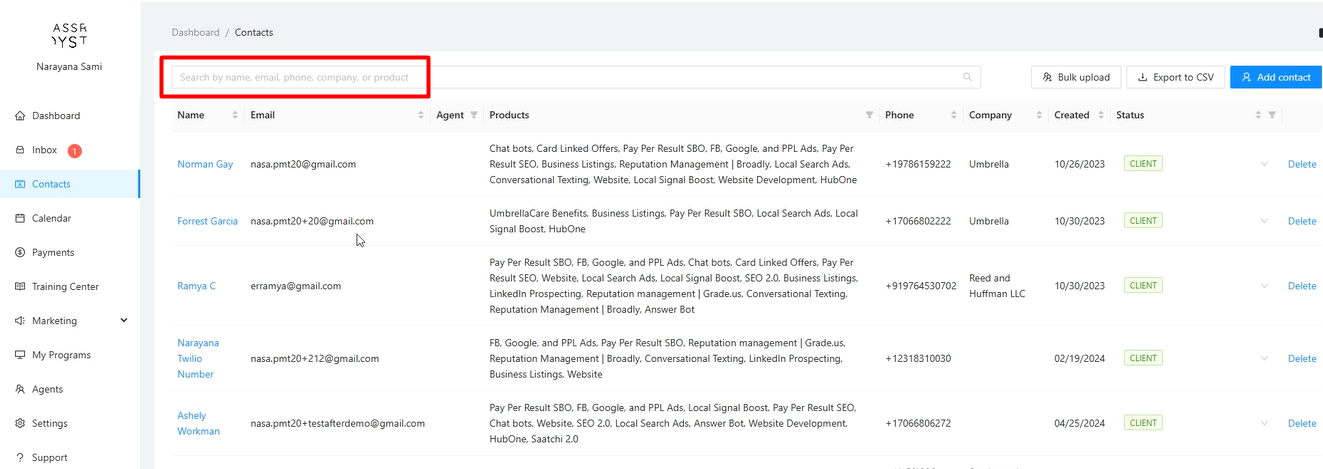
4. How do I search for contacts?
Use the Search bar located above the contact list.
You can enter keywords related to any of the displayed fields (Name, Email, Phone, Company, Product, etc.). The list will dynamically update to show matching contacts.
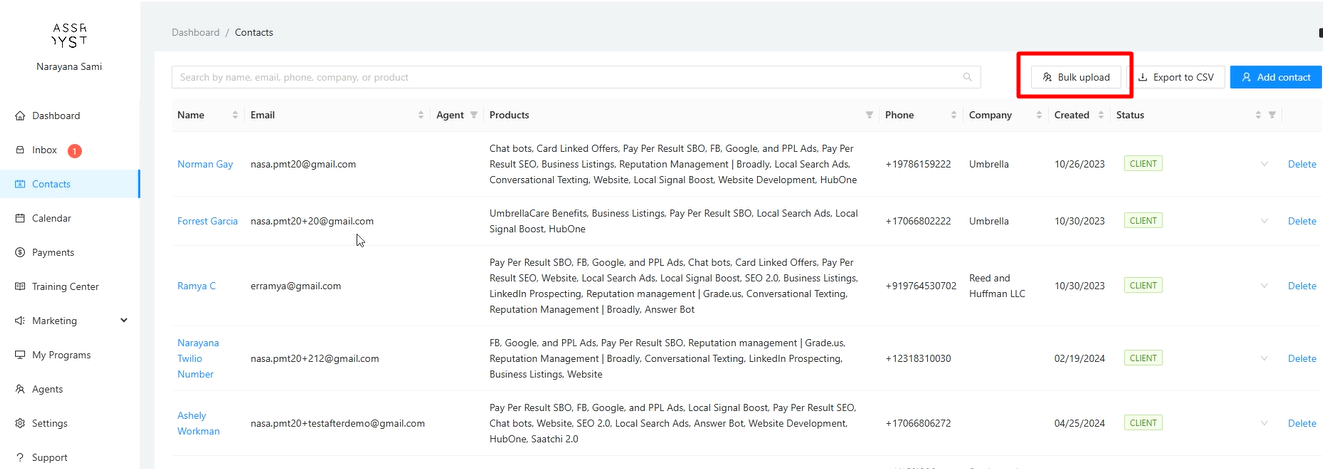
5. How do I add multiple contacts at once?
Click the Bulk upload button near the top right to import contacts from a CSV file. The process involves three steps:
Step 1: Upload CSV File
On the Bulk Upload page, you can download a template CSV file by clicking the "Click here" link. This template shows the correct column format required for uploading.
Prepare your contact data in a CSV file matching the template format.
Drag and drop your completed CSV file onto the upload area or click to browse and select it.
Step 2: Map CSV Headers to Contact Fields
After uploading, you will be taken to the "Map fields" screen.
For each system field (like FirstName, Email, etc.), you must select the matching column header from your CSV file.
This is a crucial step to ensure the data from your file is placed into the correct fields. The system supports mapping for both standard and custom fields.
Step 3: Assign Tags
Finally, you must assign a tag to all the contacts being imported. You can choose an existing tag or type a new one.
Click Import Contacts to complete the process. If any contacts in your file fail to import due to errors, you will receive an email notification detailing the issue.
Click the Export to CSV button. This gives you two options:
Export a filtered list: If you have searched or applied a filter, clicking the button will export only the contacts currently displayed on your screen.
Export selected contacts: You can manually check the boxes next to specific contacts. Clicking the button will then export only those you have selected.
After selecting one or more contacts using the checkboxes, several bulk action buttons will appear:
Tags: Add or remove tags from all selected contacts at once.
Archive Selected: Instead of deleting, you can archive contacts to hide them from the main list while preserving their data.
Delete (Trash Can Icon): Permanently delete the selected contacts.
