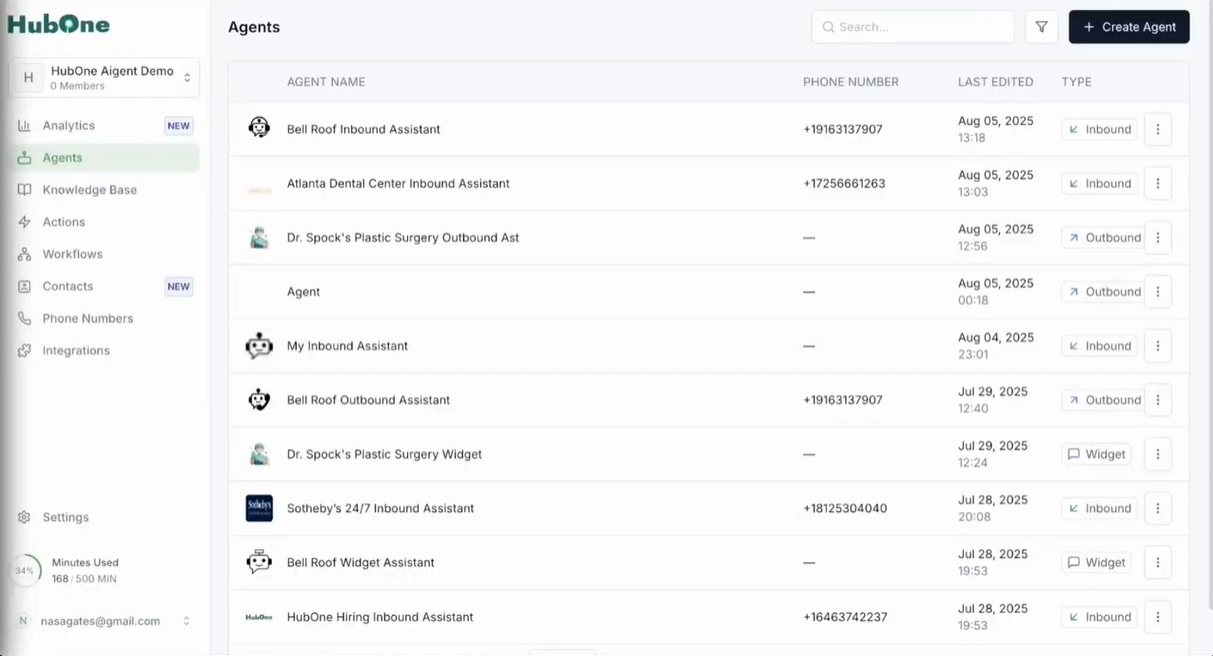
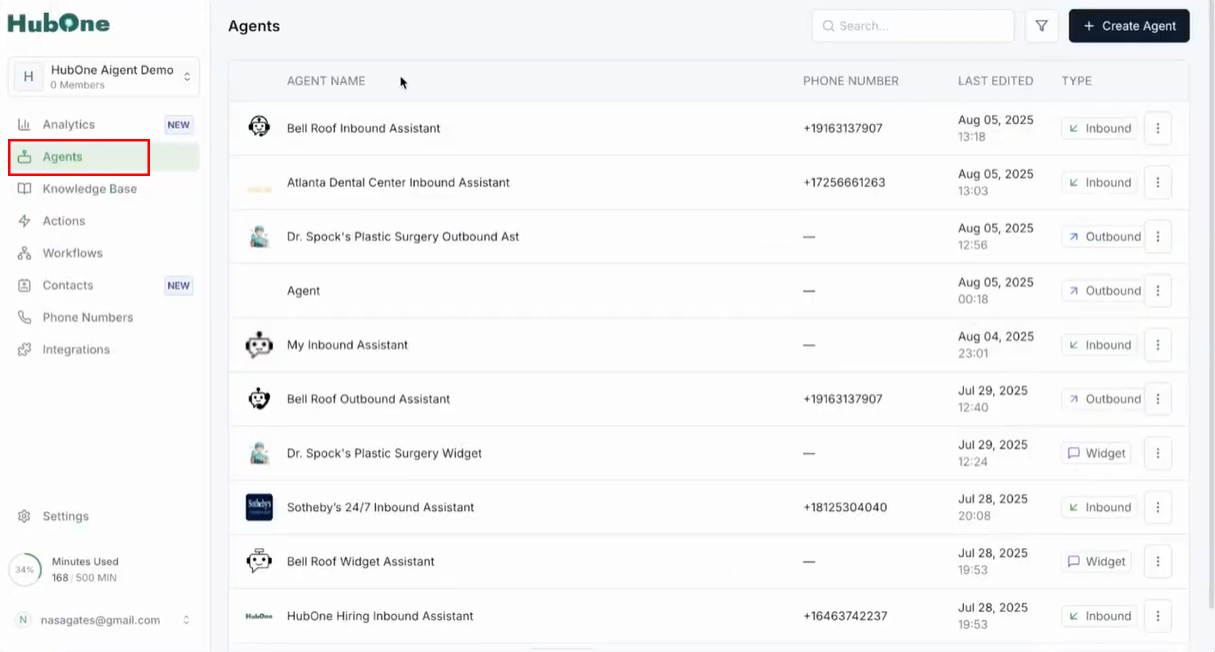
Step 1: Open your voice agent. Start by logging in to your platform and arriving at the dashboard, which lists all your active voice agents. This home screen usually appears immediately after login. Identify the agent you want to set up or modify—typically, agents are listed by name, status, or ID in the central part of the page. Click the agent’s name or the corresponding button to select it for configuration. This brings you into the agent’s management console, where all of its current settings and activities are displayed and ready for adjustment.
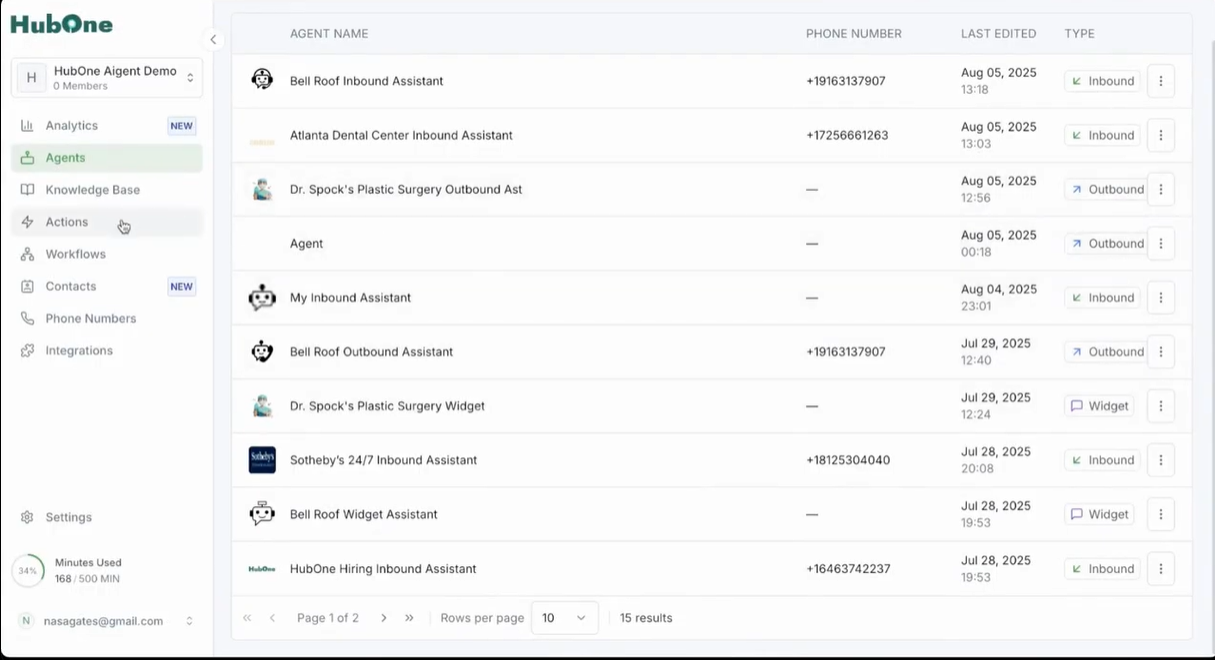
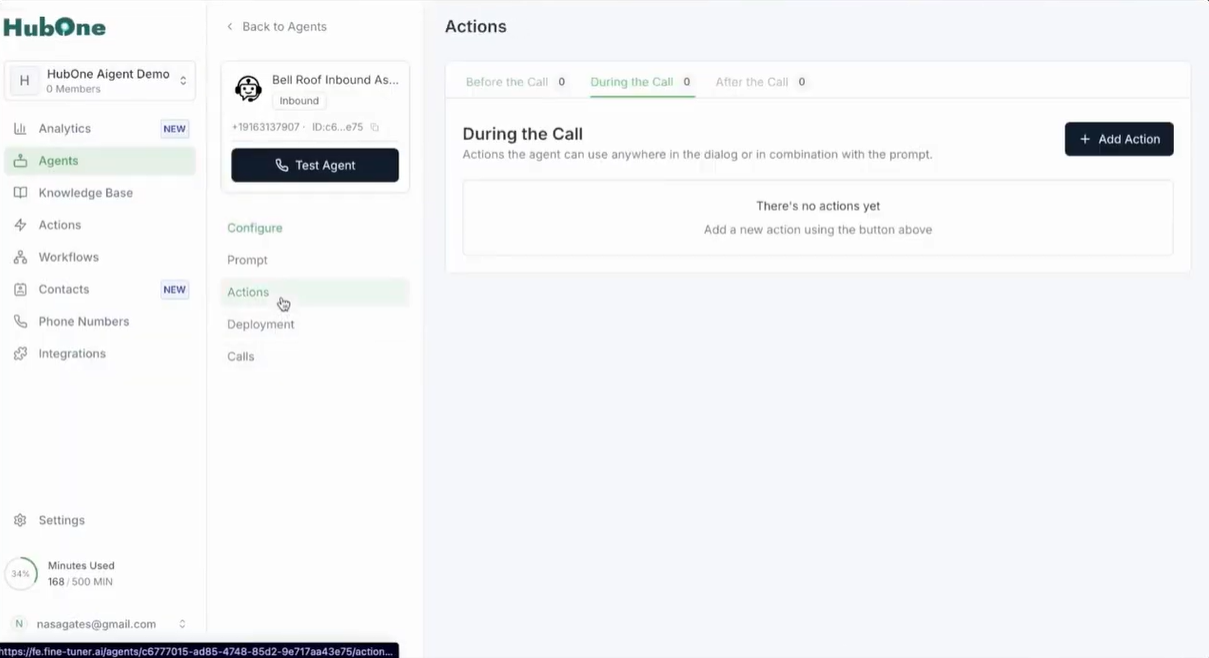
Step 2: Click on Actions in the main navigation on the left. Once inside your selected agent, turn your attention to the navigation menu, which runs vertically down the left side of your screen. This menu organizes key features—look for the Actions option. It’s often positioned beneath the general or main configuration sections and may have an automation icon beside it. Click Actions to view, manage, and create automated behaviors for your agent. This section centralizes all possible triggers and resultant tasks, making it the core hub for automation setup.
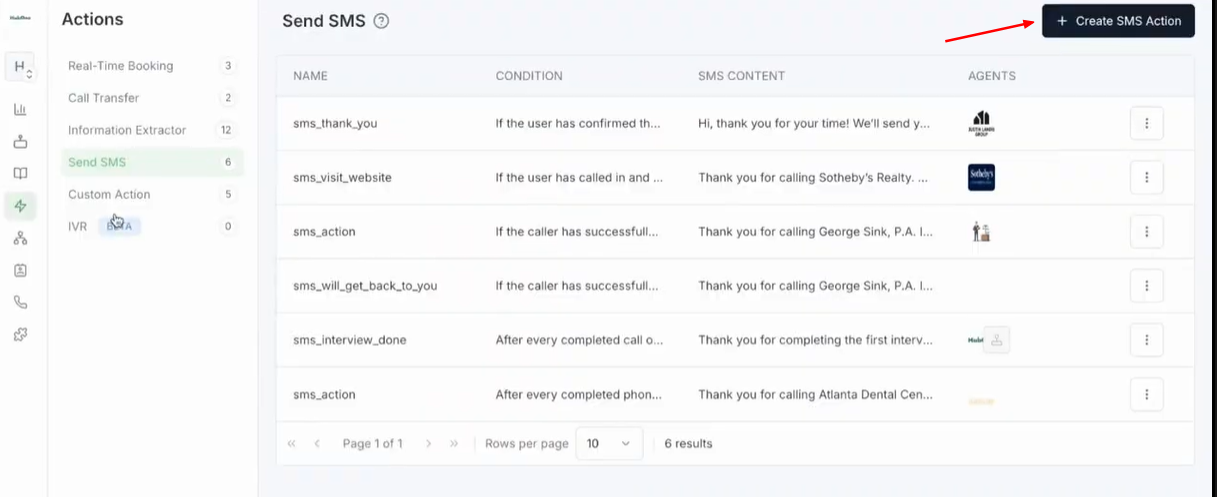
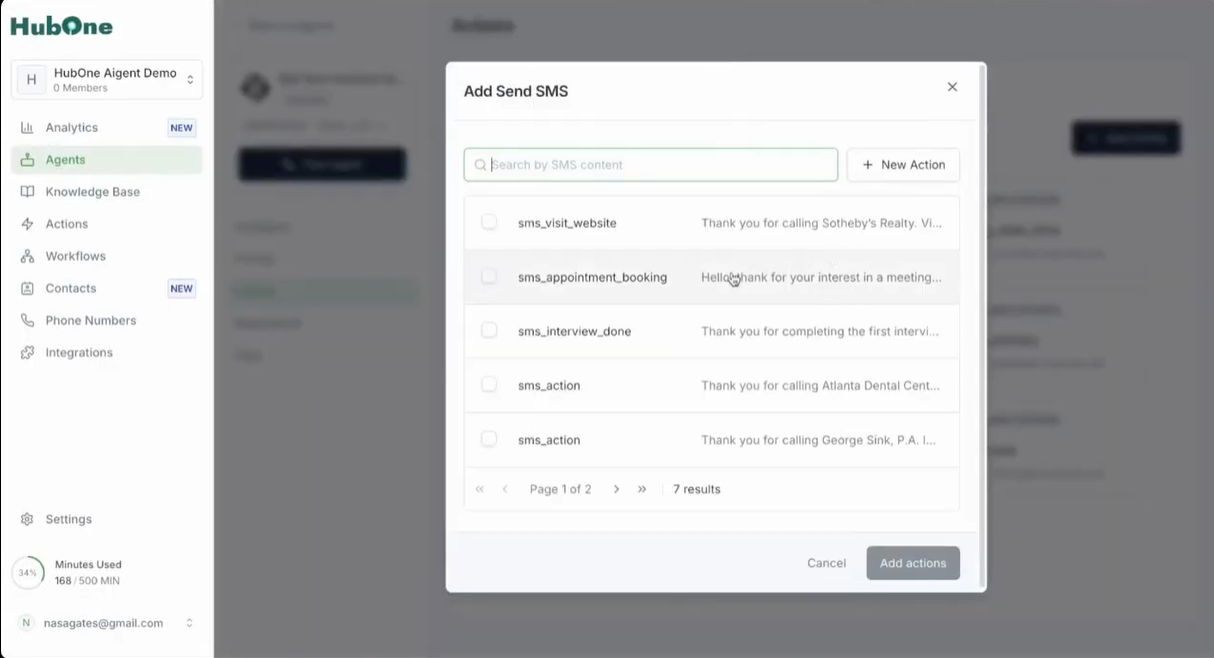
Step 3: Select the Send SMS menu option Now, with the Actions page loaded, you’ll see various categories or options for automation. Locate the Send SMS menu entry. This may appear as an item in a sidebar or as a tab along the top of the Actions interface. Clicking it displays a list of current SMS actions, showing each action’s name, whether it’s active or inactive, and short descriptions. This context helps you understand what has already been configured and spot any similar actions you might want to reference or avoid duplicating.
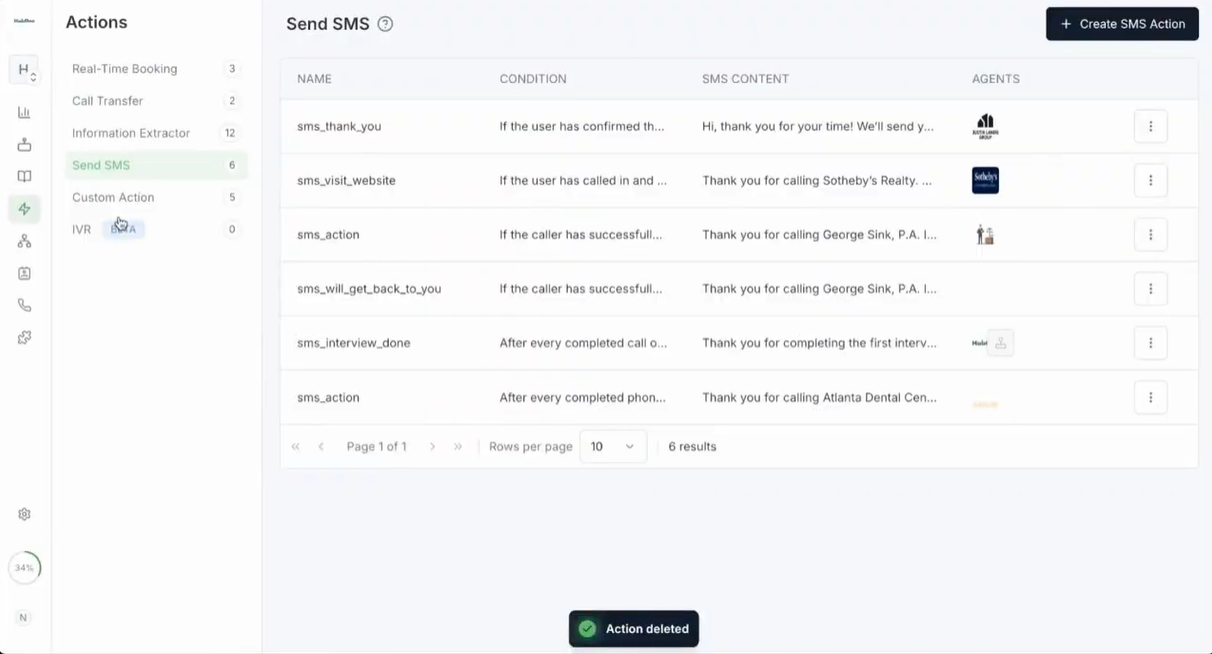
Step 4: Click Create SMS action To create a new SMS automation, find the button labeled Create SMS action. It’s generally located above the SMS actions list—often colored or styled distinctly to capture your attention as a call-to-action (CTA). Click this button to open the action creation form. Using this form, you’ll define every parameter of your SMS, ensuring it fits seamlessly into your workflow.
Step 5: Name your SMS action and compose the message
You’re now presented with a detailed configuration form. The top field prompts you for the SMS action’s name—enter a descriptive title such as "Appointment Booking Link" or "Missed Call Follow-Up" so you and colleagues immediately understand its purpose in the SMS list.
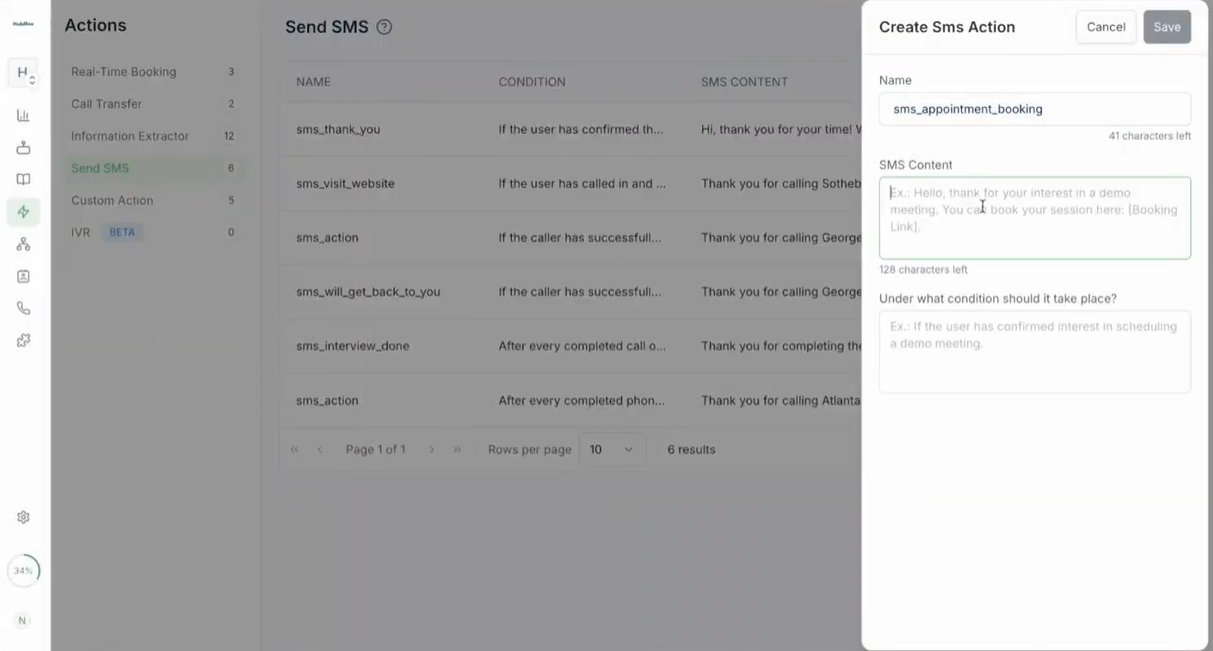
Next, compose the SMS content in the main message field. Here, write the actual text that will be sent to callers. Keep it clear and concise—consider adding a thank you note, additional instructions, or a booking link as appropriate. Most platforms allow for personalization: you can insert variables like the caller's name (e.g., {{caller_name}}) to make the communication feel individualized. Look for an 'add variable' button or a dropdown next to the message field—selecting fields like name, time, or booking link as needed.
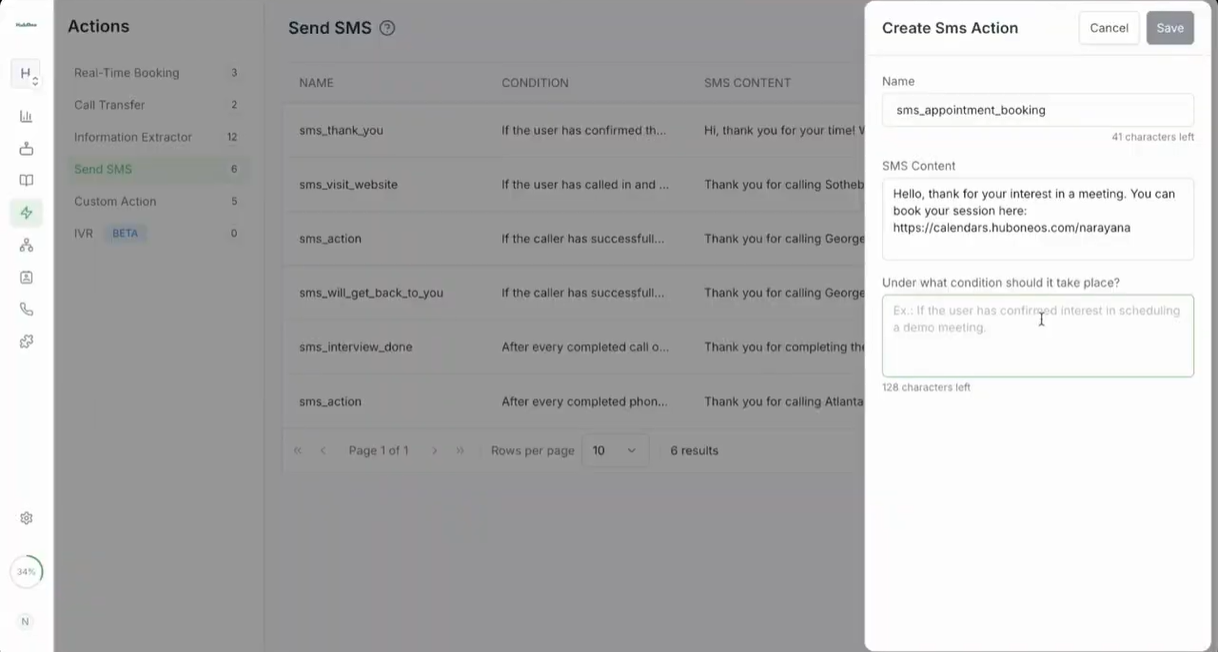
Tips: - SMS messages are typically limited to 160 characters. If your message exceeds this, it may be split into multiple messages or result in segmentation, potentially incurring additional costs. A real-time character counter might appear below the message field to track your usage. - Pick variables that enhance clarity—a personalized touch usually increases engagement, but avoid overcomplicating the message. - Consider what recipients most need at this stage: a confirmation, a link, next steps, or reassurance.
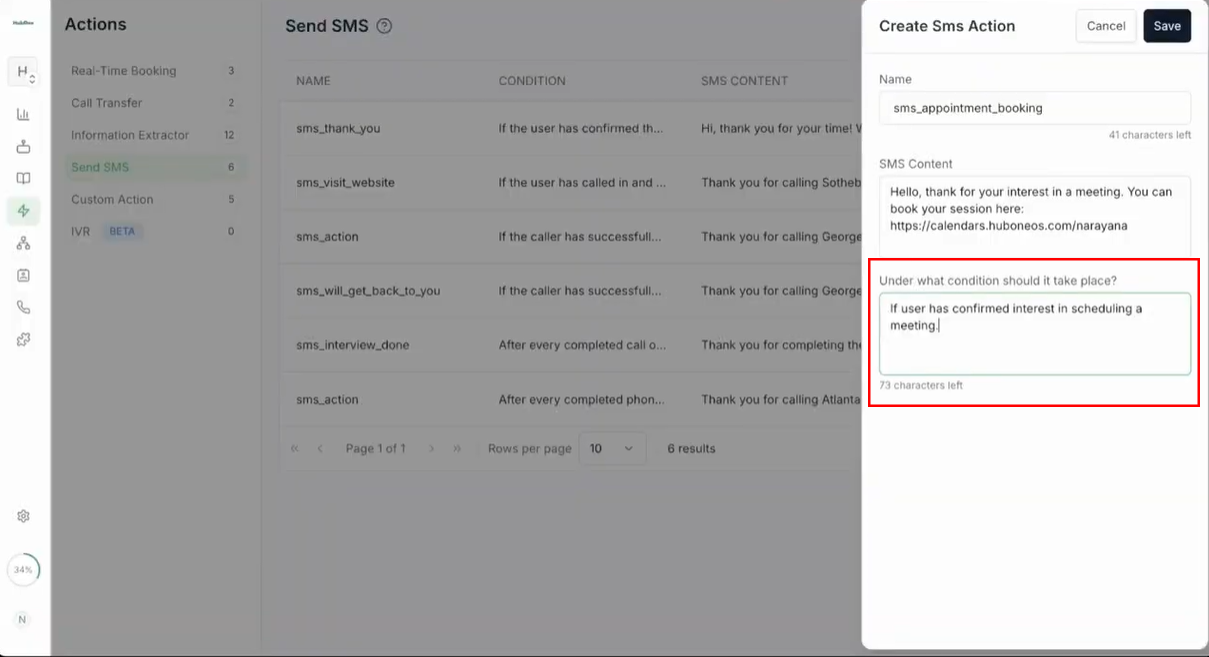
Step 6: Specify the event that triggers this SMS action
Scroll to the event or trigger section, usually midway down the form. This area allows you to define precisely when the SMS should be sent. Options often include events such as "On confirmation of interest," "After a missed call," or "At the end of call."
Select the most relevant event. For example, to send a booking link immediately when a caller expresses interest, choose the trigger titled “Caller expresses interest” or similar. For follow-ups after missed calls, pick the "Missed Call" trigger. The moment you assign a trigger, you control the timing and relevance of your SMS—making certain it fits naturally into the customer lifecycle and prevents spamming or unnecessary messages.
Important: Choosing the right trigger is essential—a misconfigured event could send information at the wrong time, confusing or frustrating recipients.
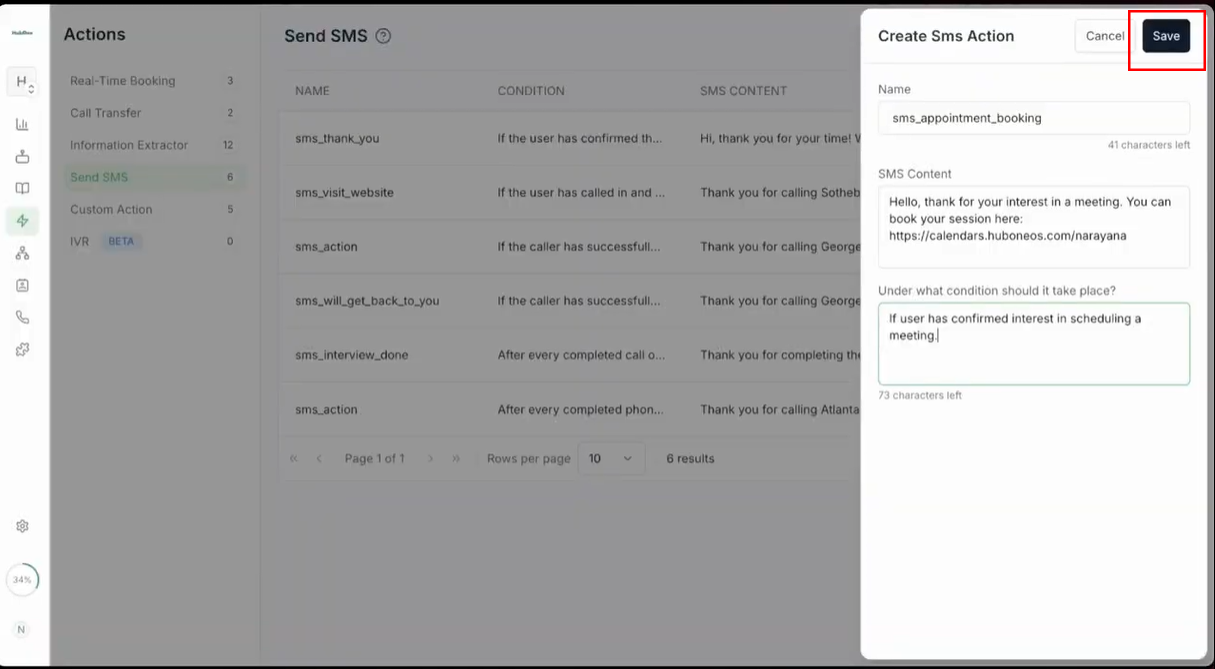
Step 7: Save your SMS action
Once your message content, personalization, and triggers are set, look for the Save button at the top corner of the form. Clicking Save stores all your settings, activates the SMS action, and returns you to the list of SMS actions where your new entry will now appear. This step is critical—no changes take effect until you hit Save.
Step 8: Access your agent to integrate the new SMS action
With your SMS action created, return to your agent’s main configuration interface. This is typically where you manage routing logic for calls—meaning the rules that determine what happens during and after various call events. Make sure you’ve selected the exact agent whose workflow should include your new SMS action (single agent changes only affect that agent’s call experiences).
Step 9: Navigate to the Actions tab within the agent setup
Find and click on the Actions tab within the agent’s configuration menu. This section aggregates all automations related to the agent, including those that trigger after specific call events. The interface usually displays a list or grid of available automations and offers controls for adding new actions at relevant points in the workflow.
Step 10: Determine the timing for sending the SMS
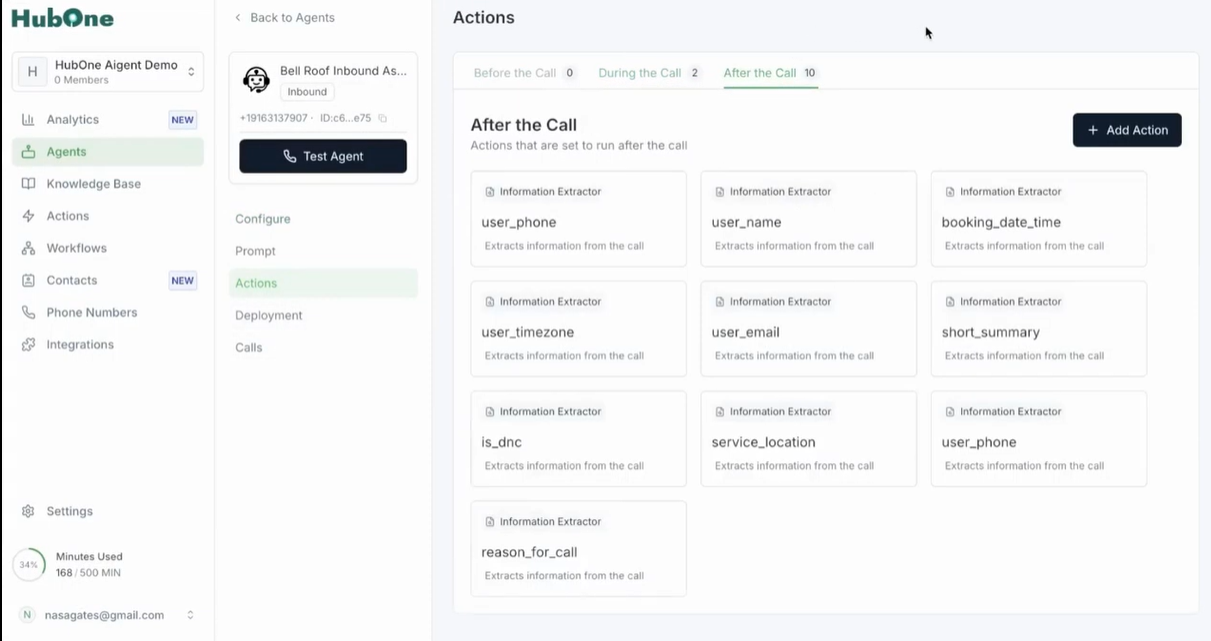
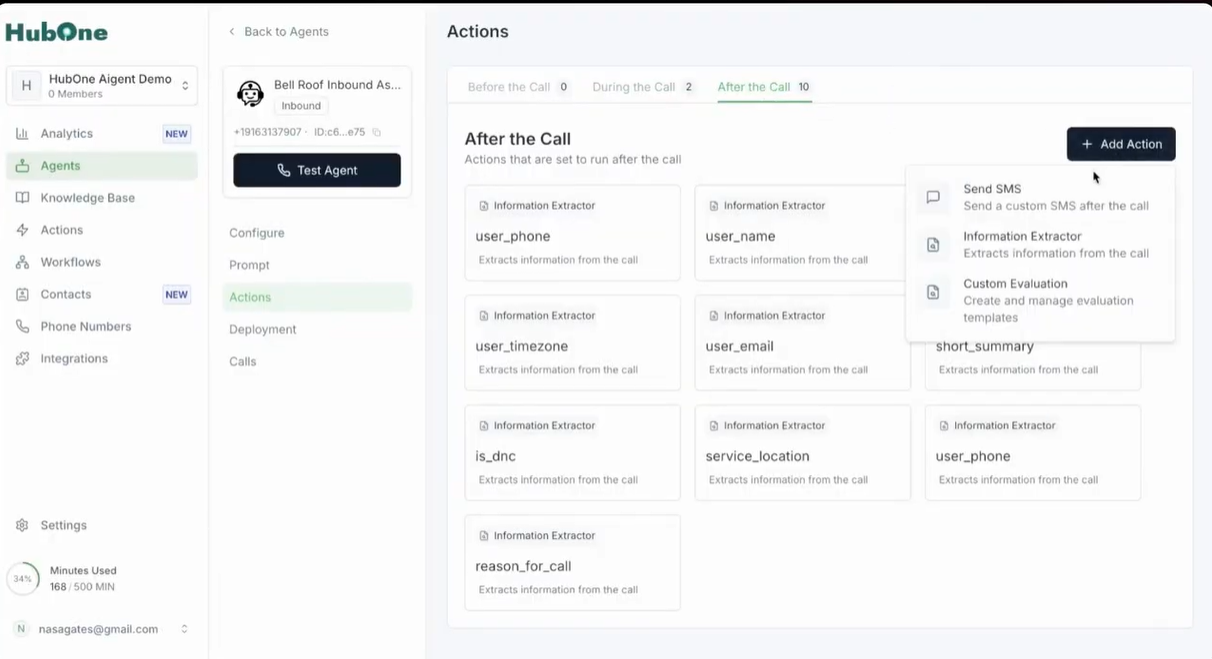
Decide at which stage in the call flow your SMS should be dispatched. If you want a message sent after a call concludes (such as a confirmation or satisfaction survey), look for an area labeled “After the call” in the workflow settings. Click on After the call to expand its options, and then use the Add action button located within this area to incorporate your SMS action.
Tip: Post-call SMS is ideal for thank you messages or next steps, as it respects the conclusion of the live interaction and feels timely.
Step 11: Choose Send SMS as the action type and select your new SMS action from the list
After clicking Add action, a dialog or dropdown appears allowing you to choose the type of action. Select Send SMS to specify that the system should issue a text as opposed to other options, like sending an email or logging a ticket. A secondary dropdown then prompts you to pick which predefined SMS action to use—select the one you just created by name. This links the trigger event (e.g., call finished) to the content and recipients defined in your SMS action setup.
This configuration establishes clear, repeatable workflows: every time the trigger fires, your SMS is issued automatically using the set logic and sender number associated with the agent profile.
Once configured, your agent will automatically run the SMS action whenever your chosen trigger condition is met. For example, if the trigger is "interest in booking," the agent immediately sends your SMS after the relevant call point, using the authorized phone number.
Additional Scenarios and Best Practices
SMS actions are flexible—use them in several contexts for a seamless caller experience: - Missed Calls: Configure automations to send an apology or a callback link whenever the agent misses a call. This reassures customers they haven’t been forgotten. - Follow-ups and Confirmations: Trigger thank you messages or appointment confirmations based on call outcomes or workflow changes.
To set up these scenarios, repeat the creation steps above, adjusting the trigger during step 6 for each purpose. Always confirm your SMS templates communicate what’s needed succinctly and politely, and use variables to personalize where appropriate.
You can assign multiple SMS actions for a variety of interaction points—such as after different call outcomes or based on customer input—by repeating this workflow with tailored messages for each scenario. The summary page in the SMS section lets you review all actions, showing their customized purposes for different customer touchpoints.
