Booking appointments on Cal.com through your agent account lets you efficiently schedule meetings for clients. This guide walks you through each step of the process, covering every detail and option to ensure smooth, successful appointment bookings:
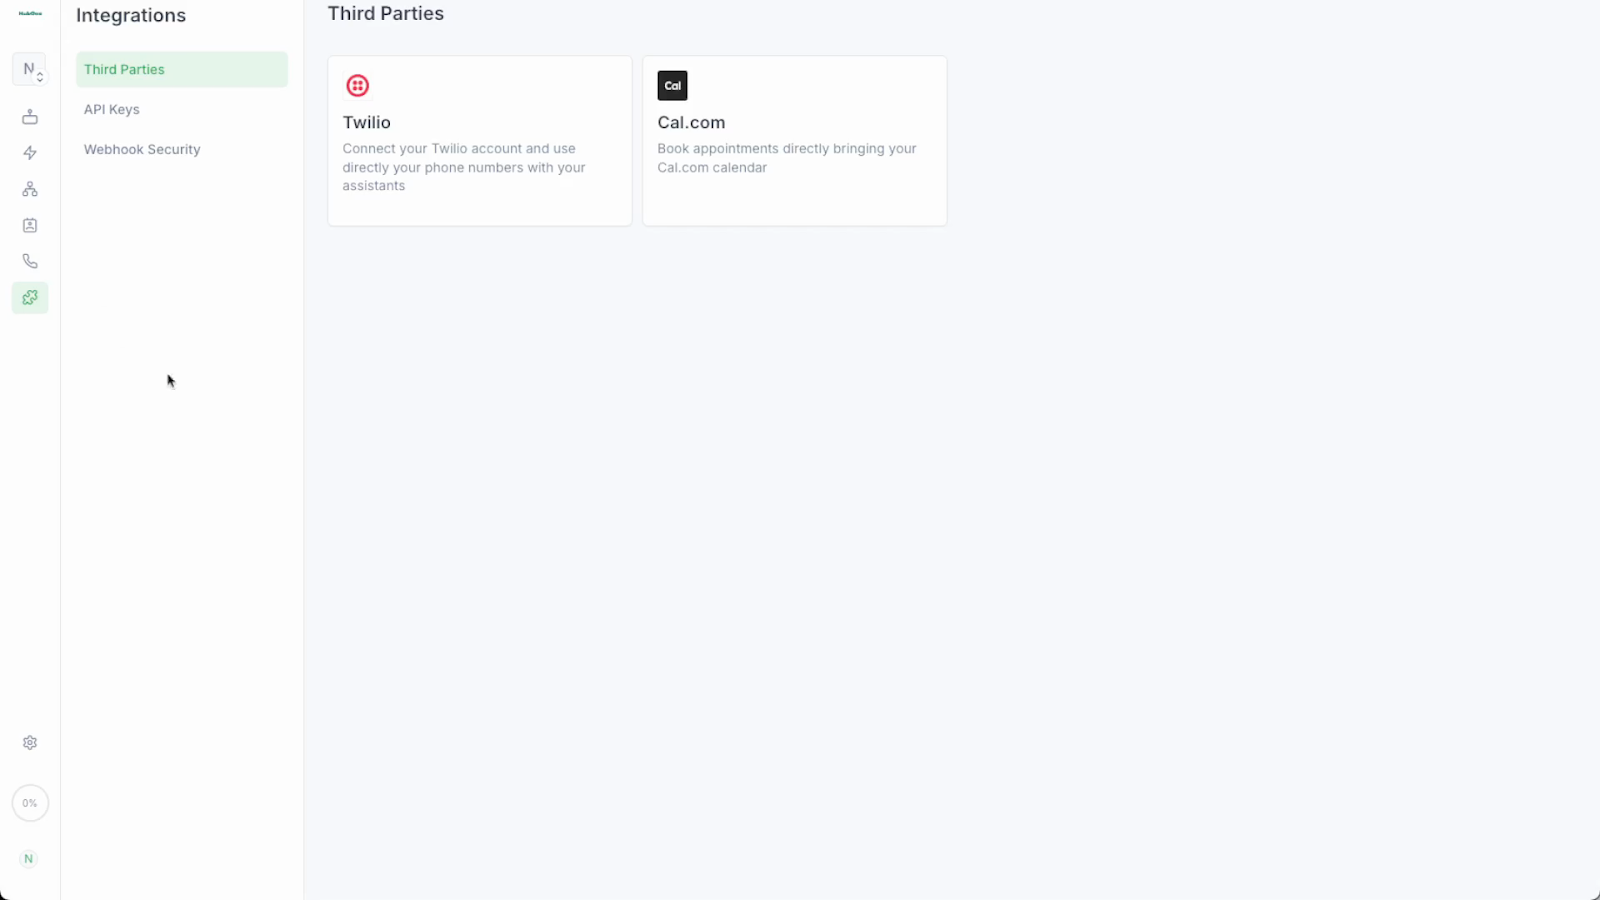
On your dashboard, find the left sidebar and click on Integrations. Within the Integrations settings, select Third Parties. Locate Cal.com from the list and click on it to begin the integration setup. This area allows you to connect Cal.com with your agent system to enable bookings.
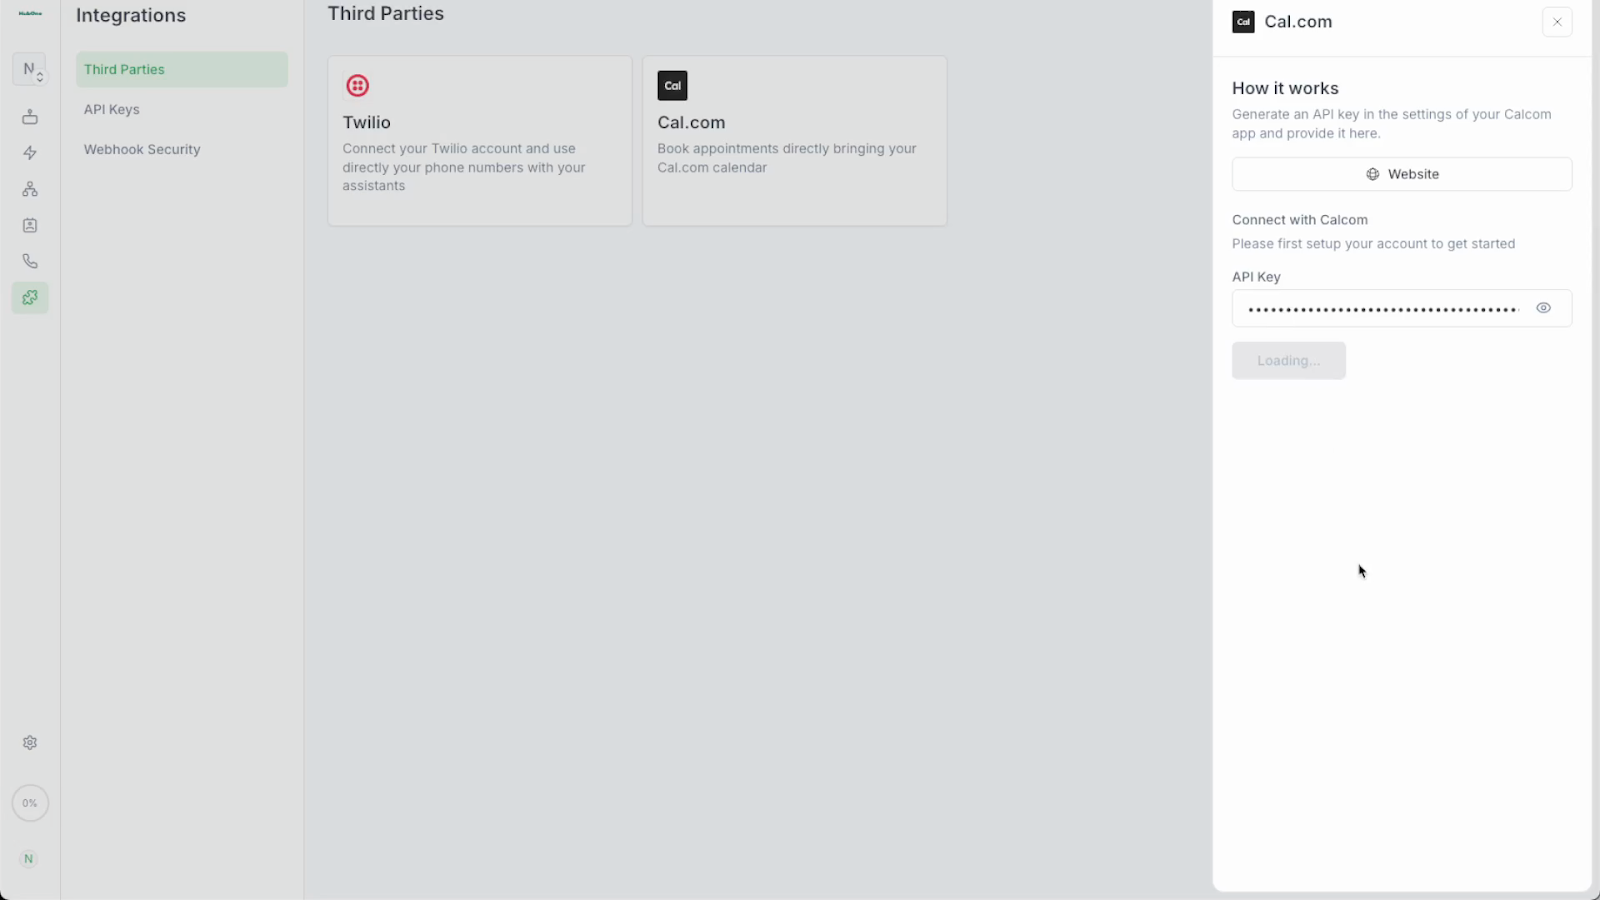
Click on the relevant option and input the API key, to find this, go to Cal.com after connecting your Google Calendar to Cal.com and follow this guide: Where is My API Key, and What Can It Do? | Cal.com - Open Scheduling Infrastructure
In the Cal.com integration module, paste the API key into the appropriate field. Once it’s entered, click Connect.
Creating booking actions:
With Cal.com now integrated, locate the Actions tab in your agent account menu. Click on Actions.
Inside the Actions tab, locate the ‘Real Time Booking’ option and click ‘Create Event’
During event creation, you’ll see an integration status indicator for Cal.com. It must appear green. If not, revisit prior steps to confirm that your API key and connection settings are correct.
Enter a Cal event ID. This comes from Cal.com - please review this guide if necessary: How to find your Event Type ID - Cal.com Help
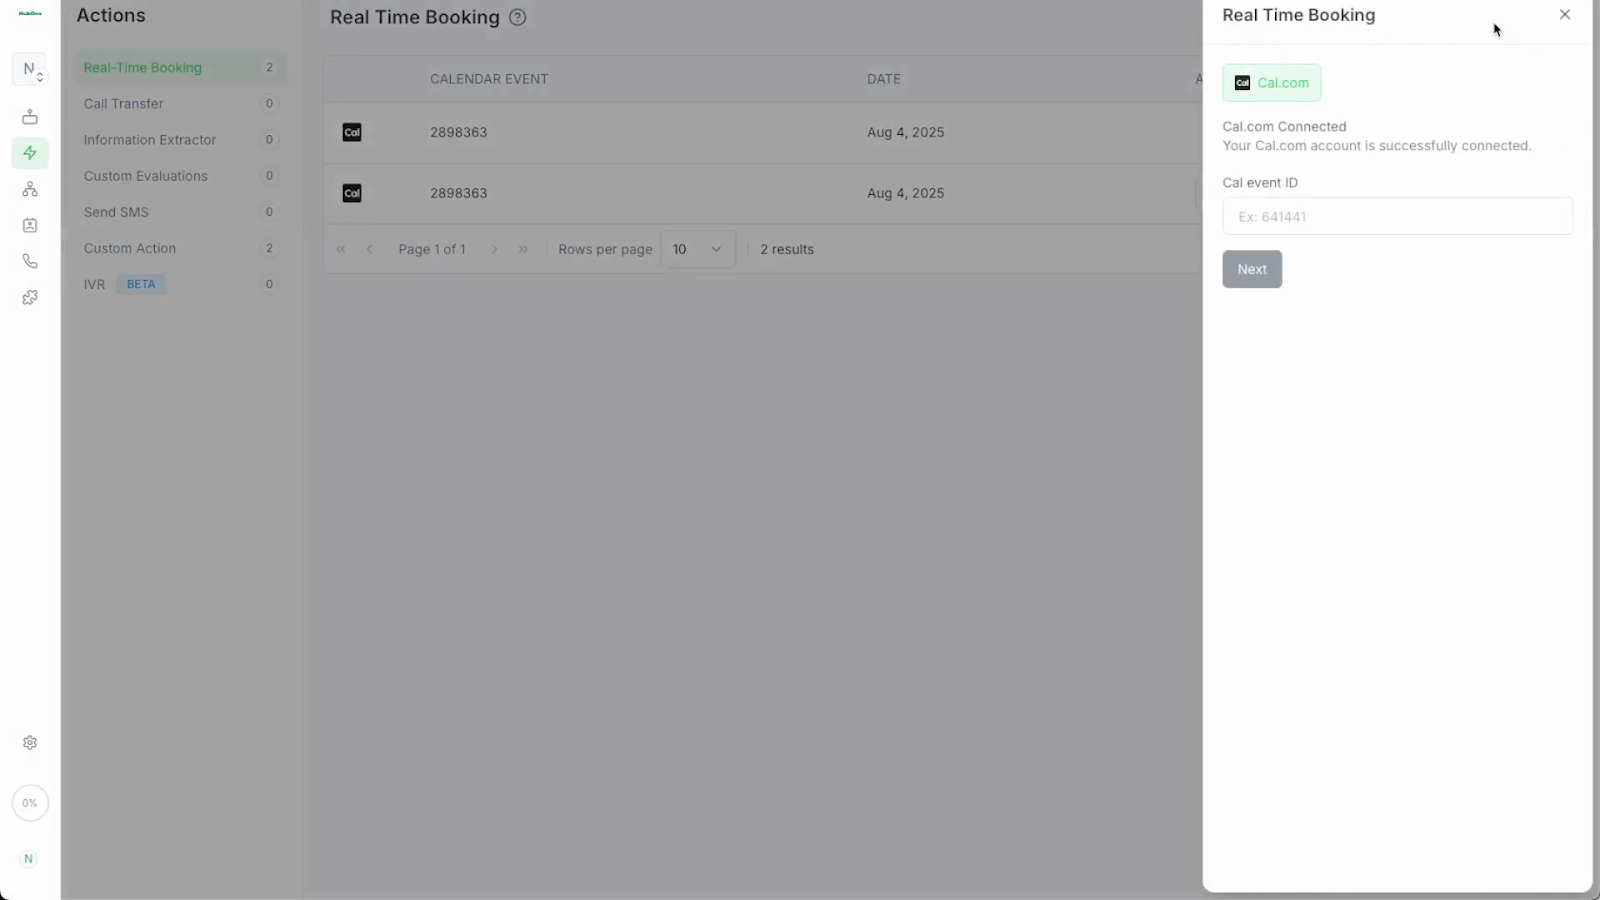
Switch back to your agent interface and paste the event ID where prompted. This links the booking action directly to the corresponding Cal.com event type so the right template populates during agent-assisted scheduling.
In the next window, you will see several configurations:
Providing an email address for booking notifications. This could be yours or the point of contact managing bookings. If you wish to receive SMS confirmations, enter a mobile phone number and enable SMS notifications if the option is available.
Select which conferencing tool you want to generate for new appointments. Available options like Google Meet or Zoom are pulled directly from your Cal.com preferences. Click to select your preferred link option. This determines what virtual meeting link clients receive in their booking confirmations.
Choose the correct time zone for which you want to display availability and booking slots.
Using a date picker, select the first day you wish to allow bookings. If you want bookings to start immediately, select today’s date.
Set the number of dates you want to offer appointments, the number of appointment slots per day, and the hours between each slot.
Enter the number of upcoming days you’ll allow for scheduling. Specify how many separate appointment slots should be available per day. Indicate the minimum hours that must pass between appointments, which helps prevent overbooking or too-tight scheduling.
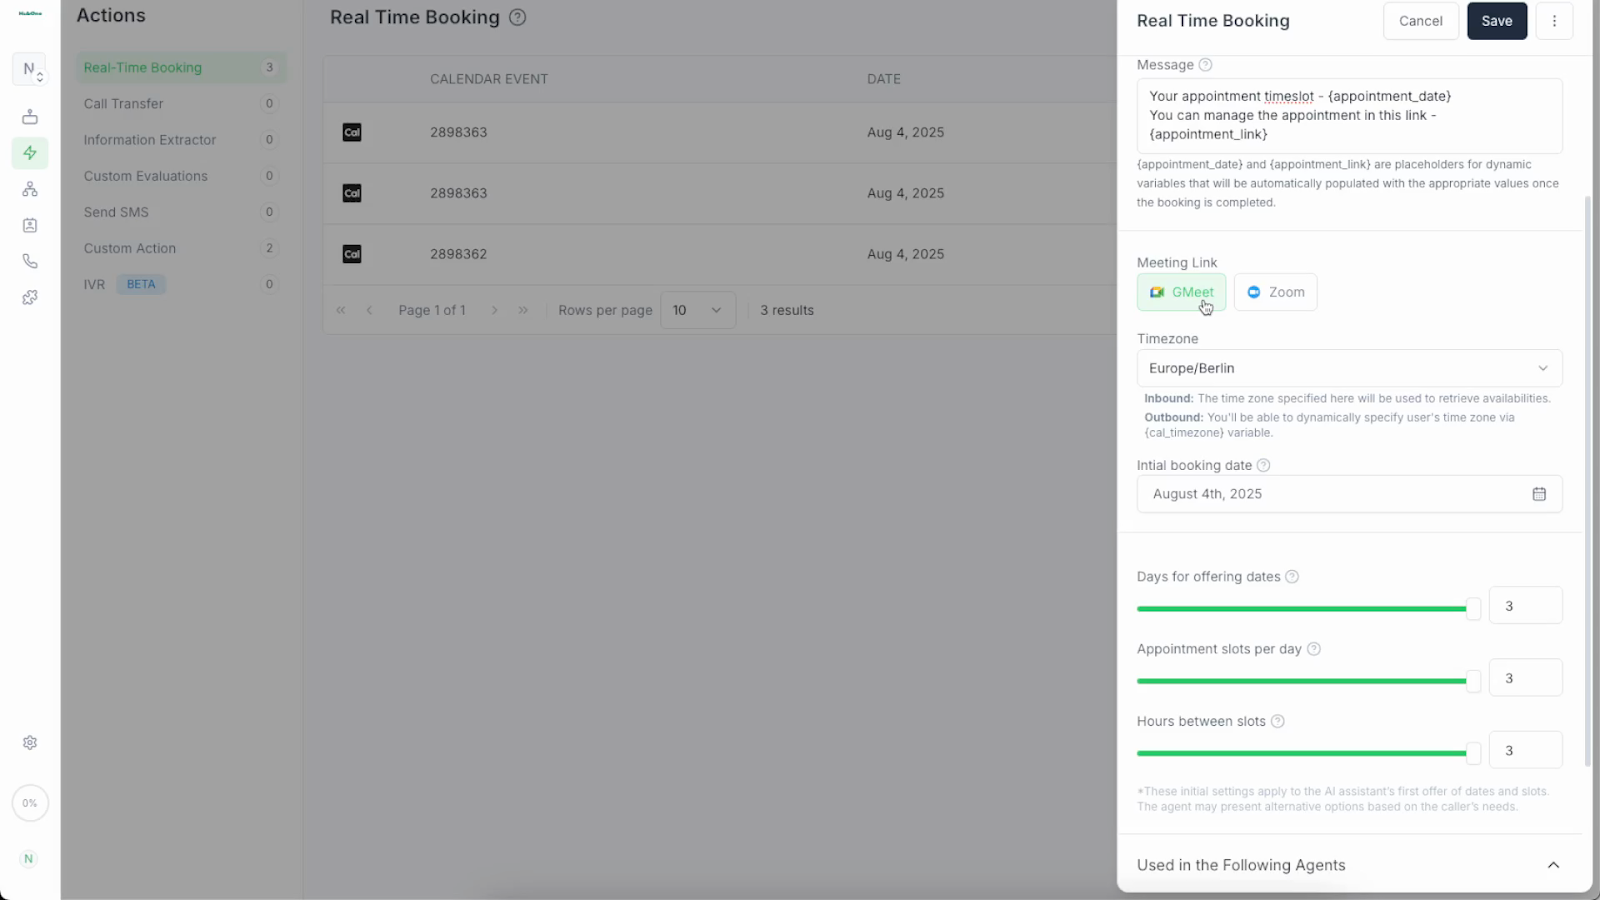
Once all preferences and settings for the event have been configured, click Save.
Assigning the action to an agent
To enable booking through a specific agent, locate the Agents list or settings. Find and click the name or profile of the agent who should handle this event type. This step is necessary for the newly created action to appear in that agent’s workflow options.
Within the agent’s profile, find the Add Action option. From the ‘During the call’ dropdown, select Real Time Booking. and select the relevant event.
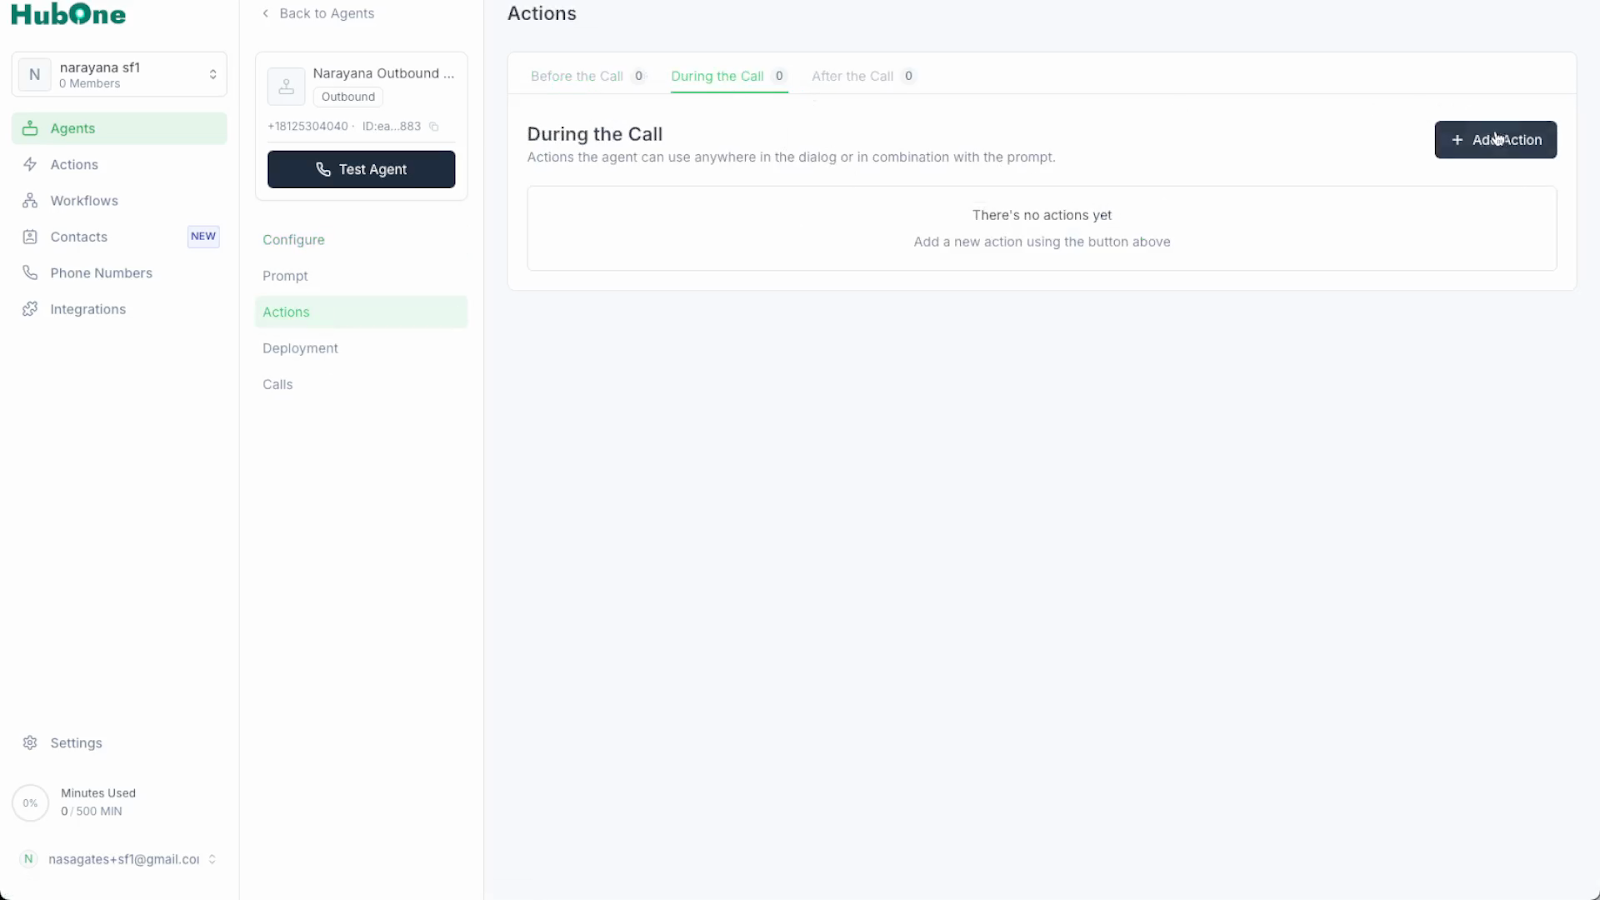
Finalize by clicking Add Action to save your settings. The real-time booking action is now listed under the agent’s available tools for managing appointments.
