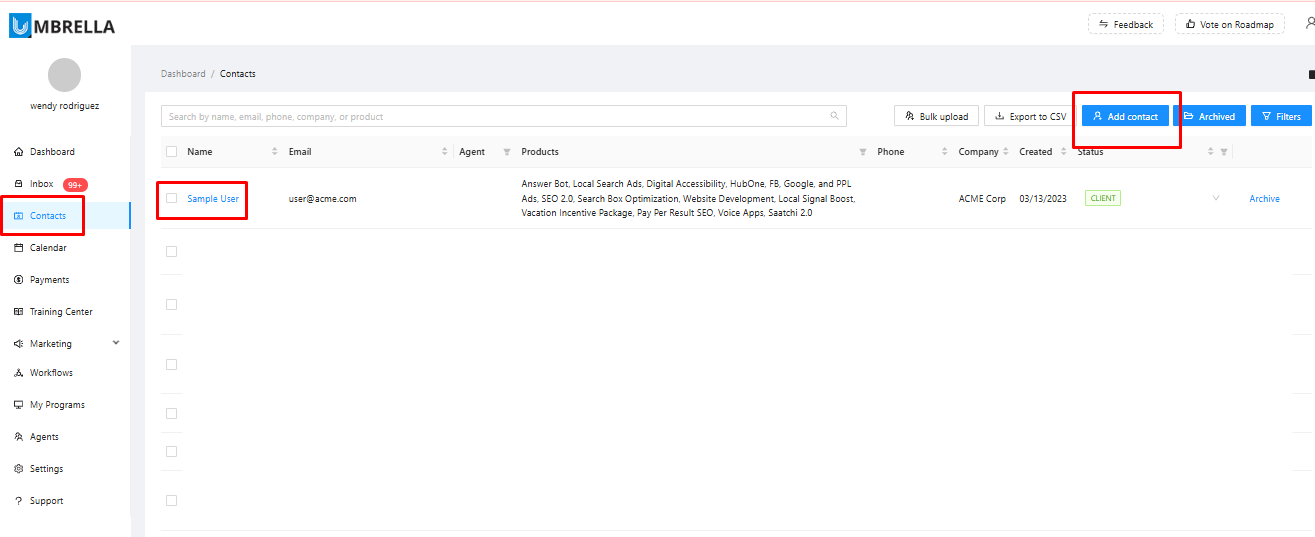
First, navigate to the Contacts section from the main left-hand menu. You must have a contact record for the person or company you are purchasing the setup for.
If the contact already exists: Locate and click on their name to open their profile.
If the contact does not exist: Click the Add contact button to create a new profile for them first, and then open it.
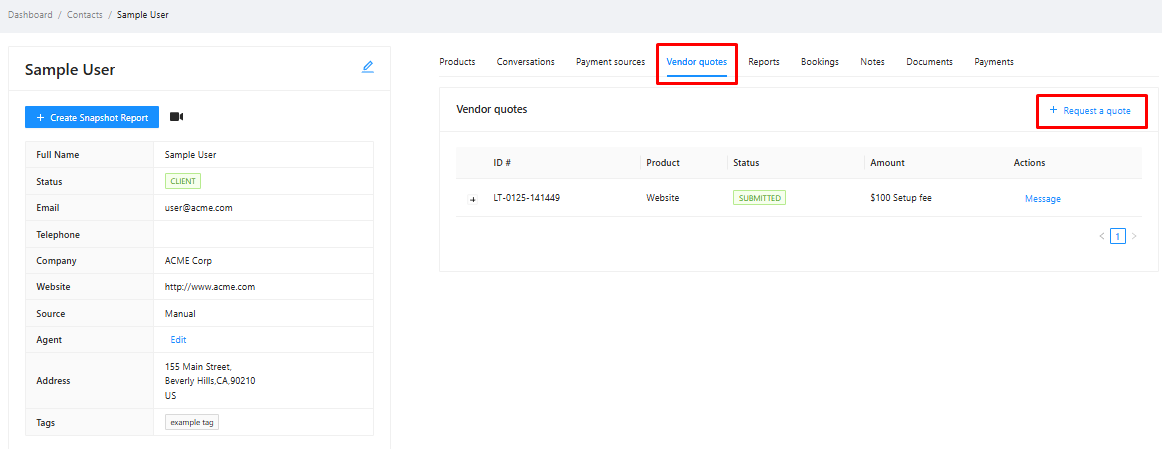
Inside the contact's profile page, you will see several tabs across the top.
Click on the Vendor quotes tab.
On the right-hand side, click the Request a quote button.
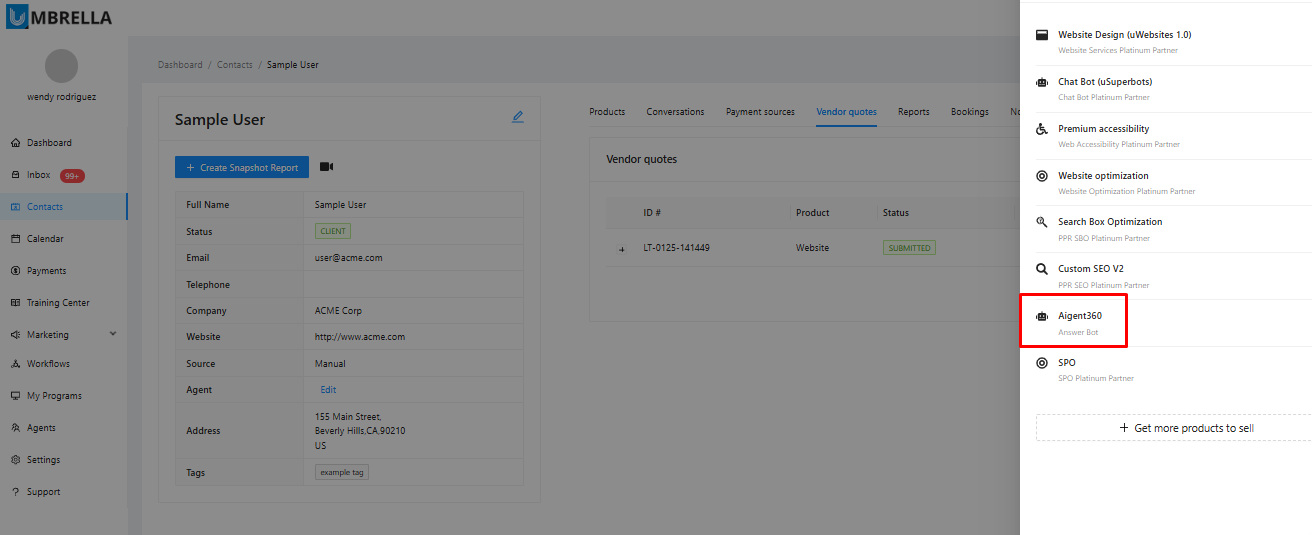
From the list of available products that appears, select AIgent360.
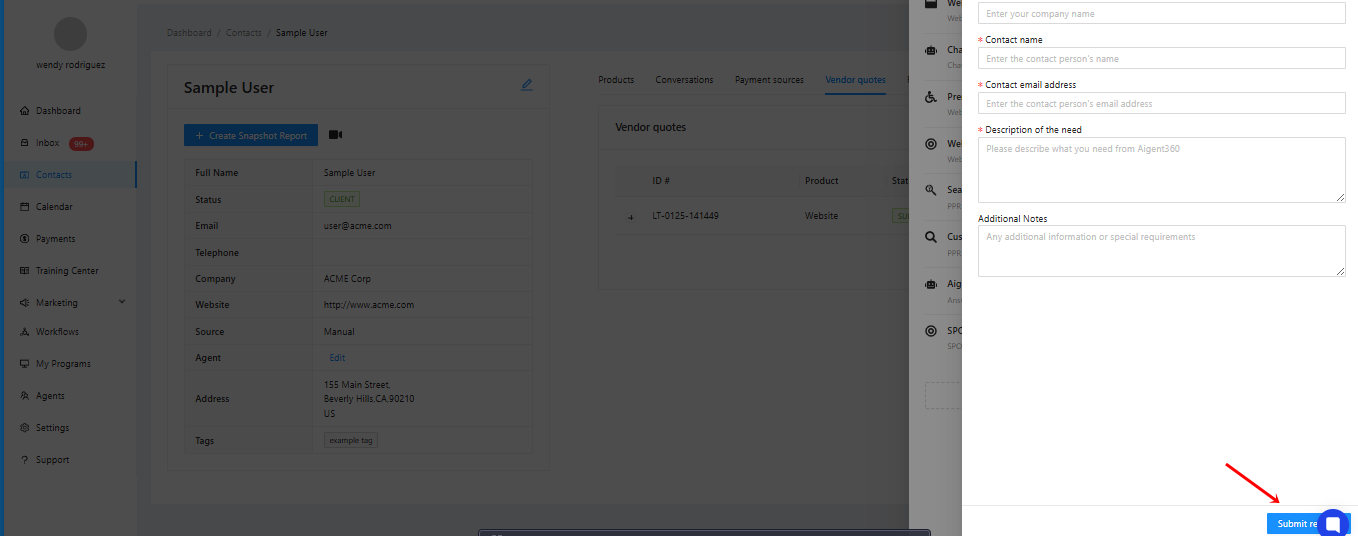
A form will appear asking for the client's details.
Fill in the Company name, Contact name, and Contact email address.
In the Description of the need section, be as specific as possible. A clear, thorough description helps ensure the bot is configured exactly to your client's needs. For example:
“This bot will handle outbound calls to promote my new product and perform lead follow-up.”
“This is for a dental office. The bot needs to handle inbound calls to book, reschedule, or cancel appointments; provide office hours and address; and know when to transfer calls to a live receptionist.”
After entering all required details, click Submit Request.
You will see a confirmation message in the top right corner.
The quote will now appear in the Vendor quotes list with a status of REQUESTED. Quotes are typically processed within 3-5 business days.
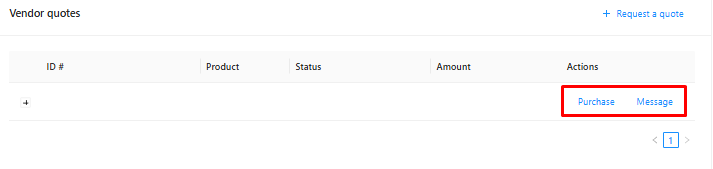
Once the vendor has reviewed your request and provided a price, the quote's status will update to SUBMITTED. You will see the final quote amount and two action buttons: Purchase and Message.
Standard bot setups are typically quoted up to $250. More complex, enterprise-level projects with advanced integrations may be higher.
To proceed with the order, click Purchase.
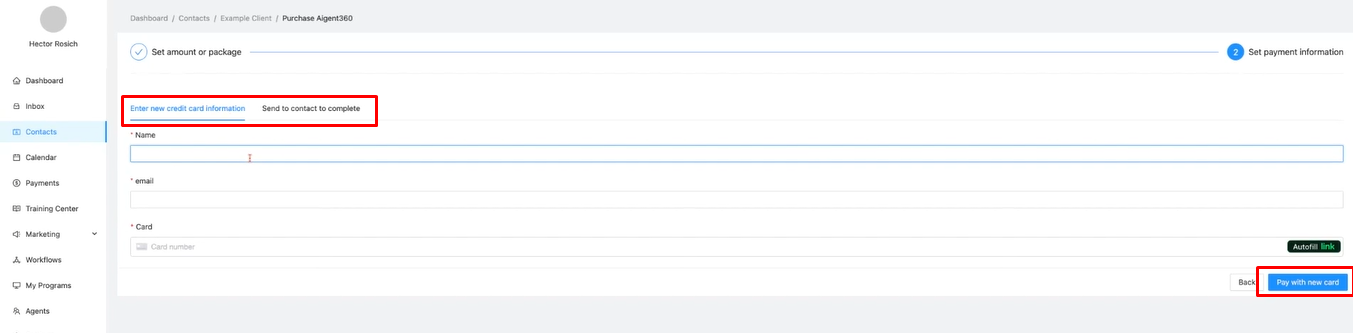
After clicking "Purchase," you will be taken to the payment screen. Here you have two options:
Enter new credit card information: Pay for the service directly by entering your payment details.
Send to contact to complete: This provides a secure payment link that you can copy and send to your client so they can pay for the setup themselves.
After payment is complete, the order status on the product page will change to PAID.
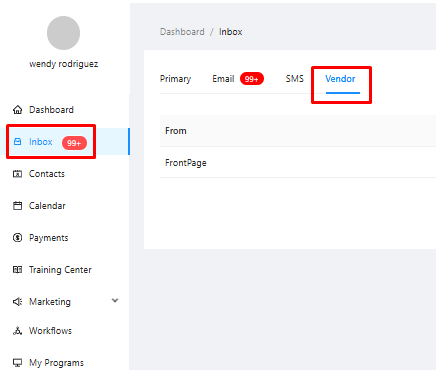
Shortly after the order is paid, the vendor will send you a message to begin the setup process.
To find this message, navigate to the main Inbox from the left-hand menu and click on the Vendor tab.
Here, you can communicate directly with the vendor to ask questions, provide additional instructions, and clarify any details regarding your order.
If you have any questions or get stuck at any point, feel free to reach out to our support team using the chat icon in the bottom right corner of your dashboard. We will be happy to help.
