A knowledge base is a centralized repository that houses frequently asked questions, operational details, policy documents, and related informational resources. Assigning an agent to a knowledge base empowers them to retrieve accurate answers, improving response speed and consistency for your customers.
Log into your HubOne Account or Hubone Agent Account. - On the login screen, enter your credentials and select Sign In. Once signed in, you’ll land on the main dashboard where you can manage agents, knowledge bases, and other resources.
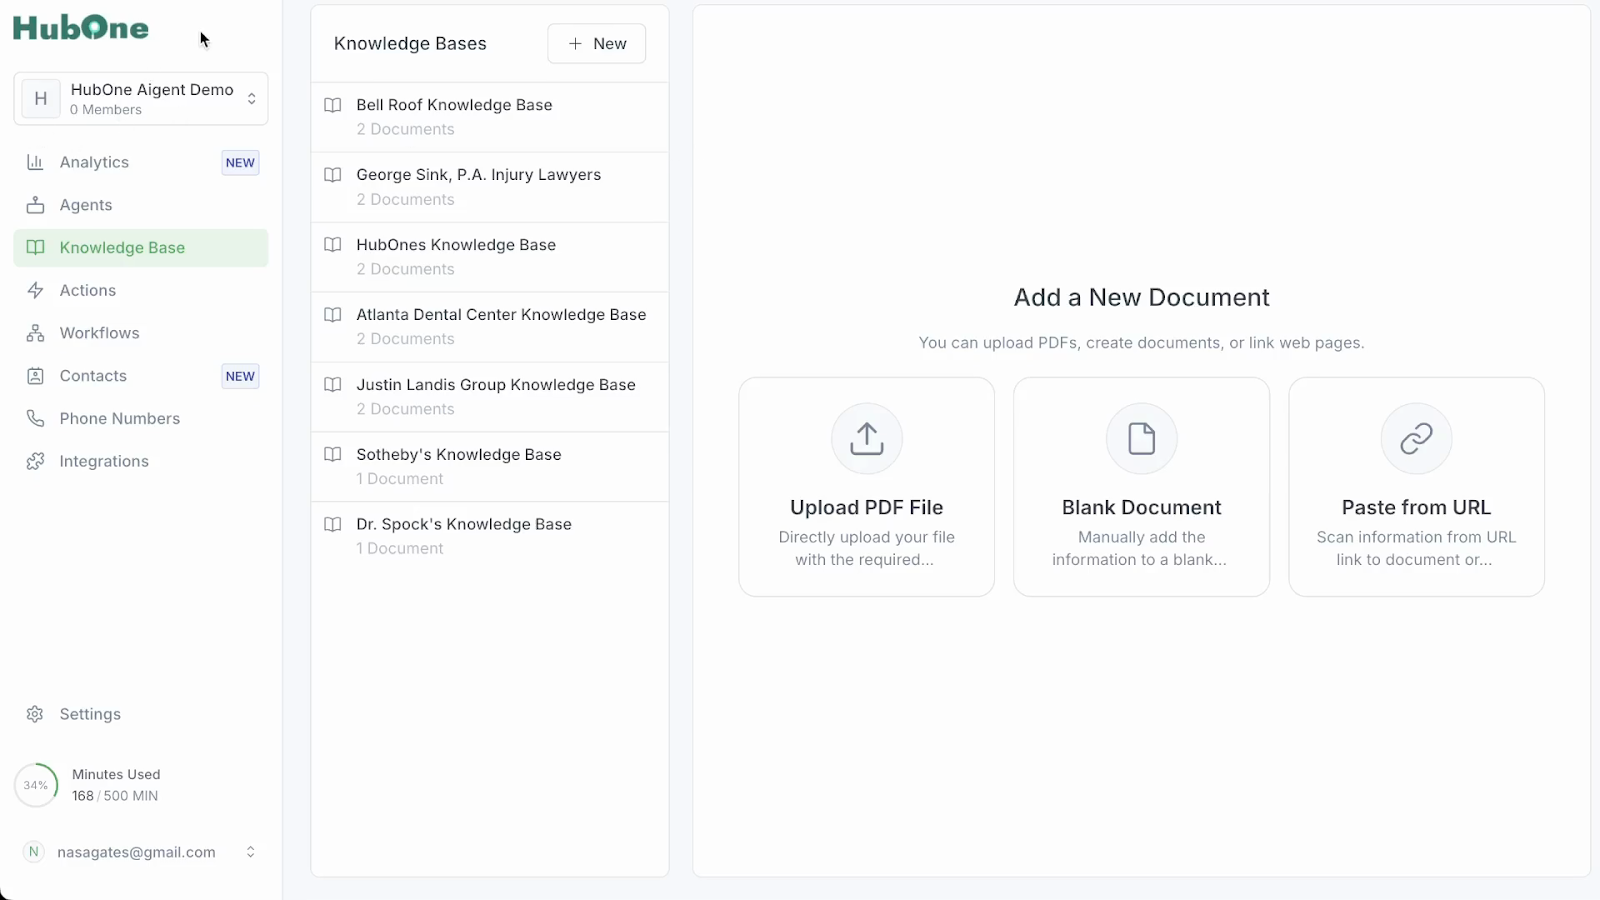
Find and click on knowledge base in the interface. This opens the knowledge management section, where you’ll see all existing knowledge base folders and have the option to create a new one. To start a new folder, click the button or link for creating a knowledge base.
A prompt will appear. Enter a clear, descriptive title for your knowledge base. Naming the folder helps you organize content and ensures agents can easily identify the correct repository to use.
Define search conditions for the agent. In this section, specify the scenarios or types of queries the agent should reference this knowledge base for. Typical examples include questions about services offered, insurance acceptance, office hours, parking availability, or contact methods. List these question types or criteria to guide the agent on when to search the knowledge base, ensuring they provide accurate answers to customers.
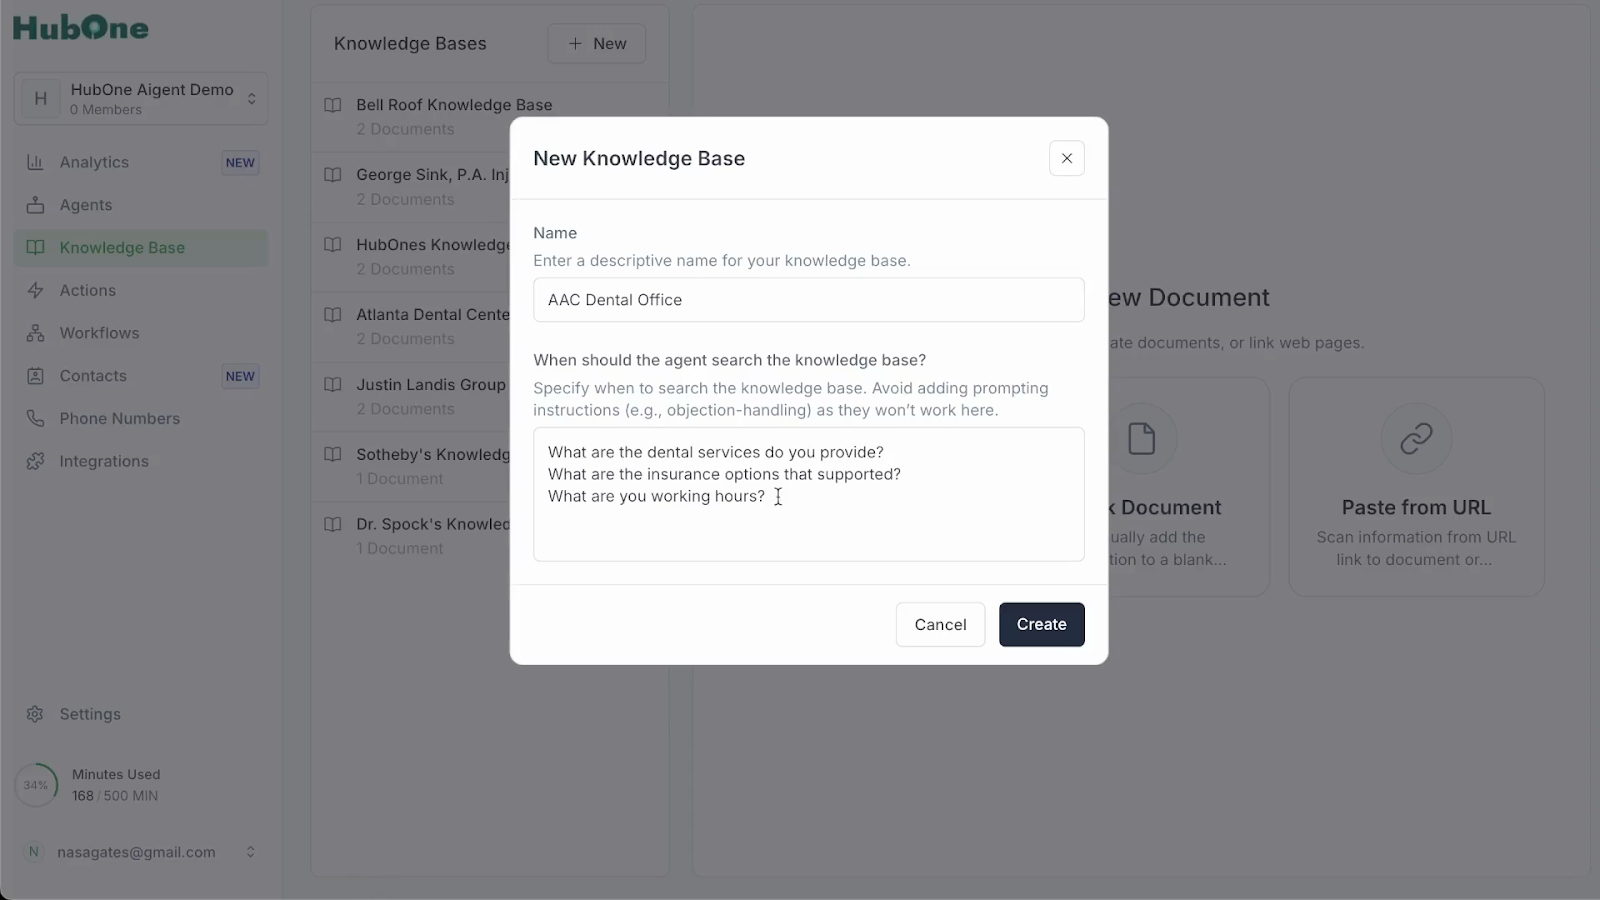
Confirm and create the folder. Click the button labeled Create or Save to establish your new knowledge base. After this action, the system returns you to the knowledge base overview with your new folder visible in the list, ready to receive documents.
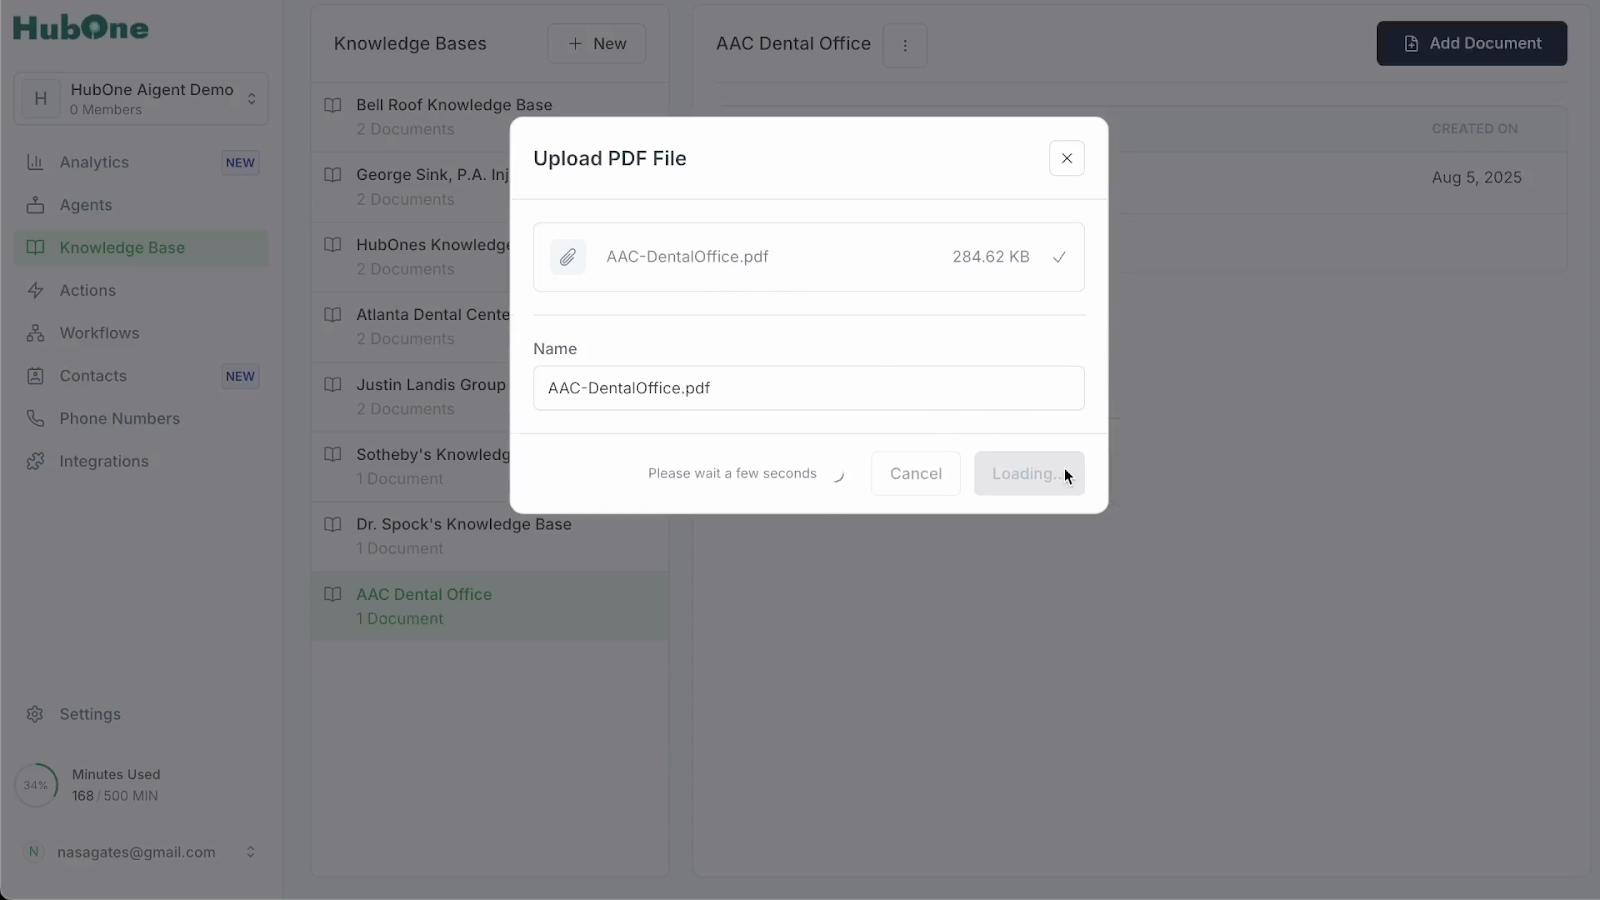
Add documents to your knowledge base folder. You can incorporate information in three forms: PDFs, blank documents, or links. - To upload a PDF file, drag and drop it directly into the folder area. The system will begin uploading—watch for a progress bar or notification confirming the upload is underway.
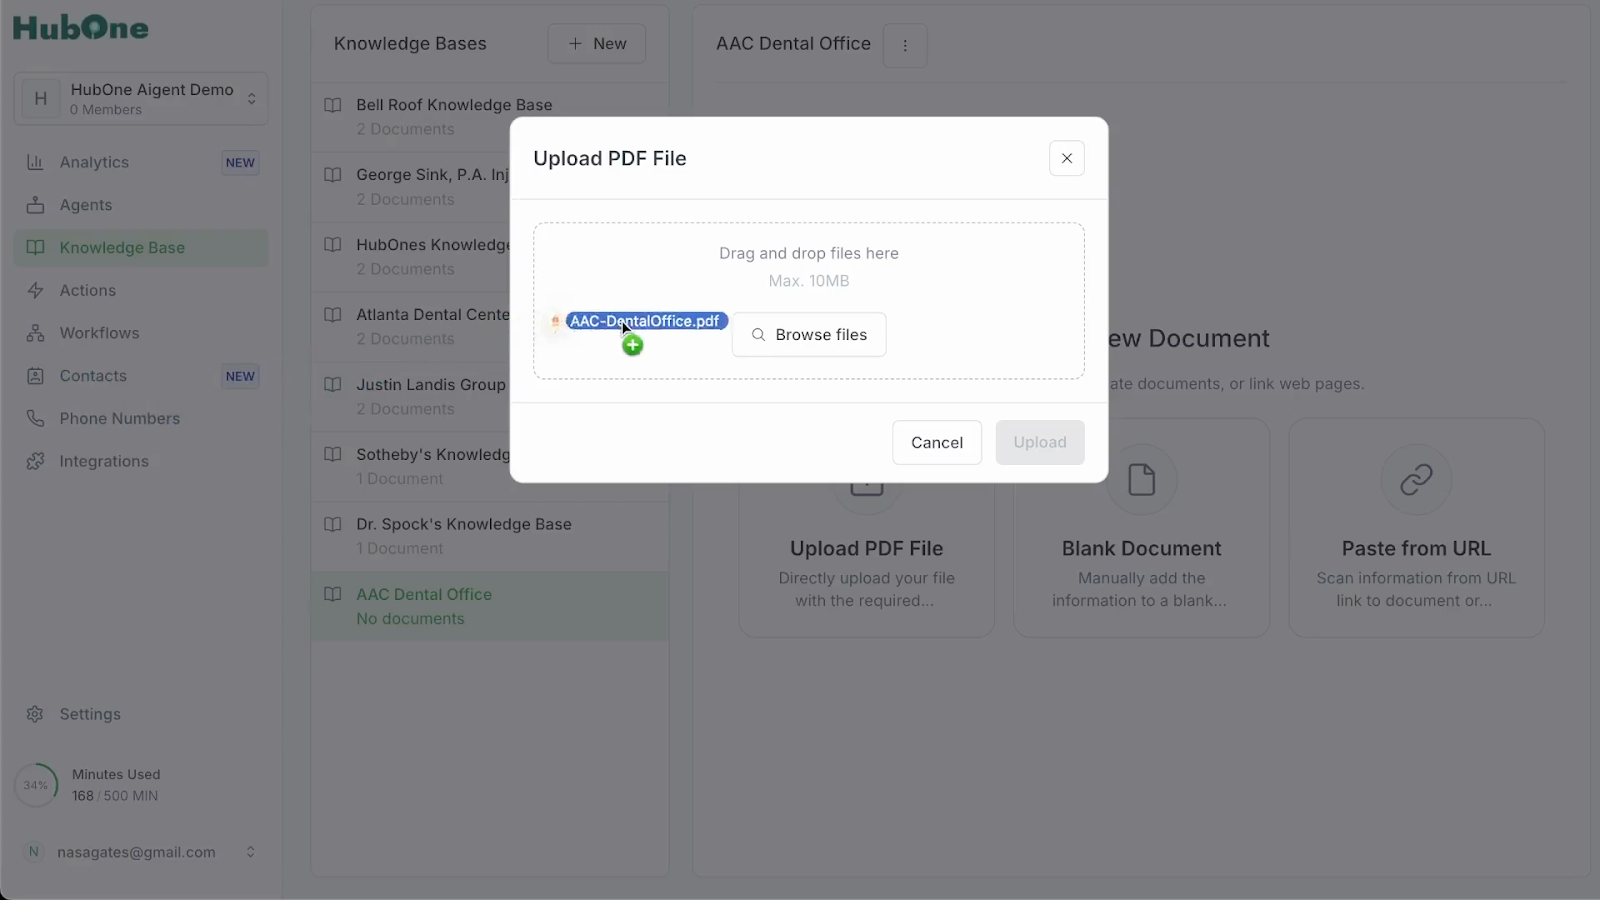
Wait until you receive a notification that your file has uploaded successfully. Uploaded files are added to the documents list within the folder for quick retrieval.
To add a blank document, select the option to create a new document inside your folder. Enter a descriptive title and open the new document in the editor panel.
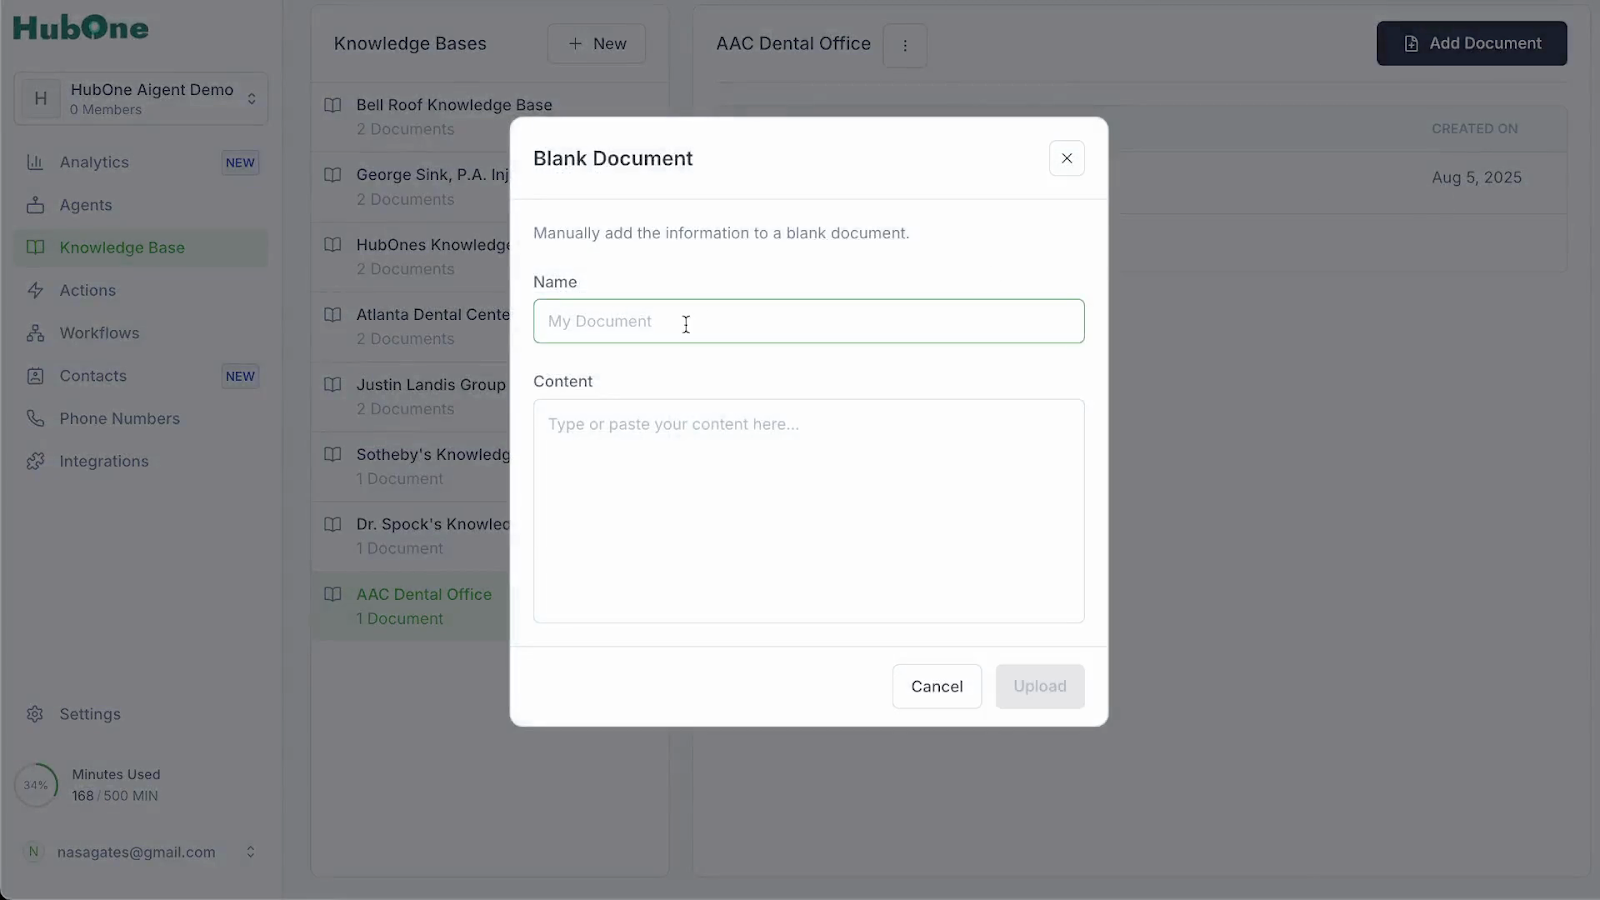
Copy the relevant information from your source and paste it into the document editor field. This could be text from an internal document, a web page, or office procedures.
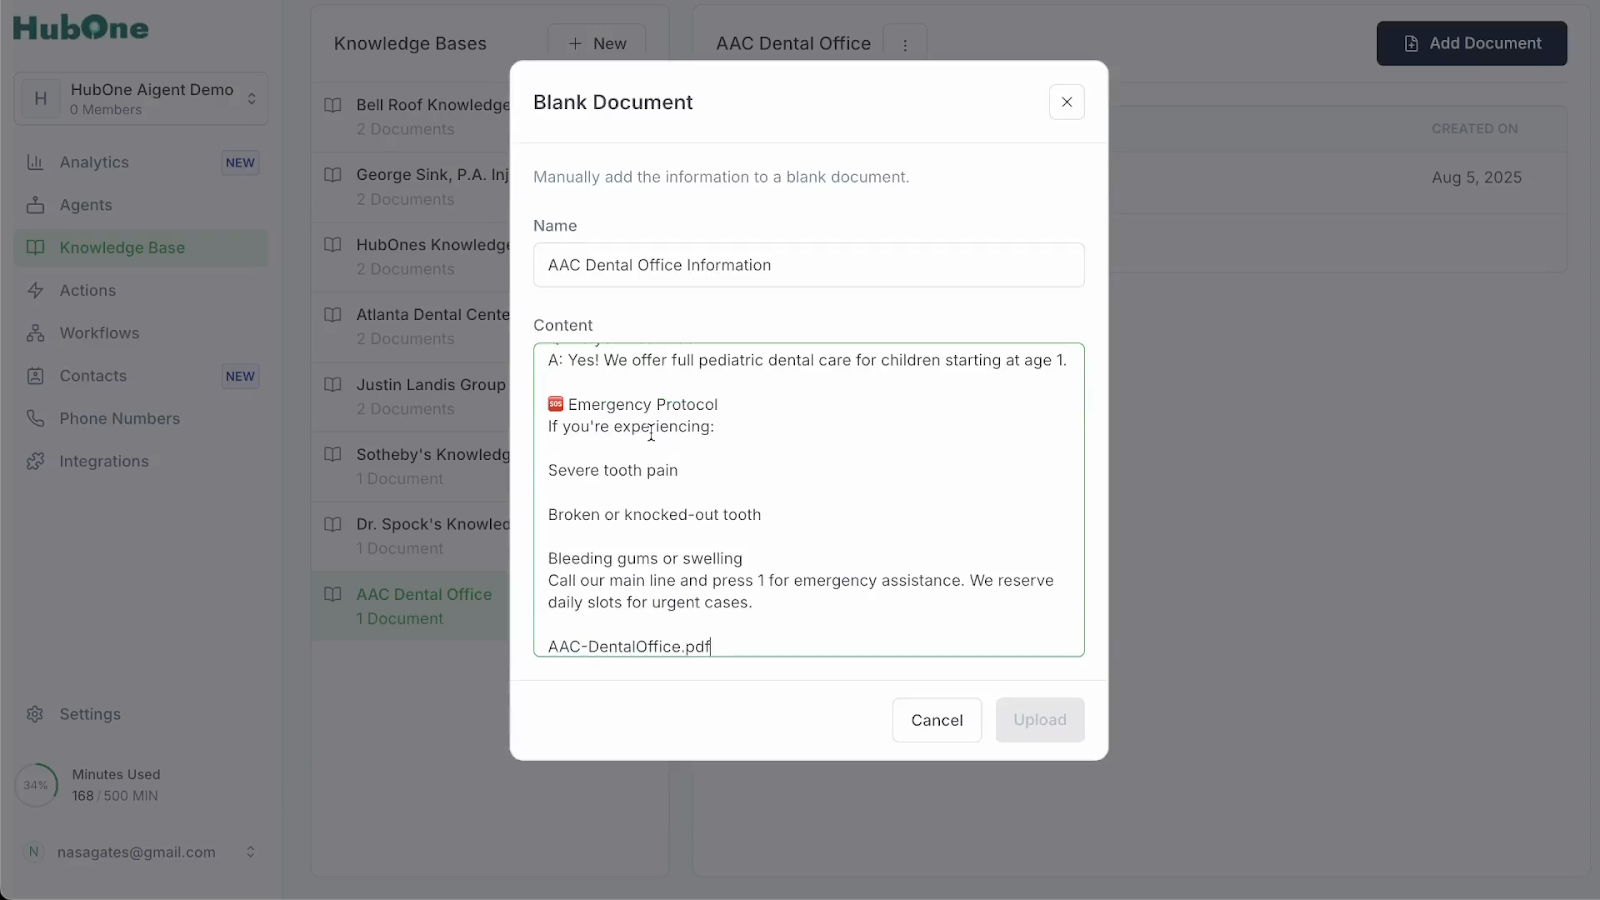
Once the text is pasted and saved, the information is instantly available for agent reference.
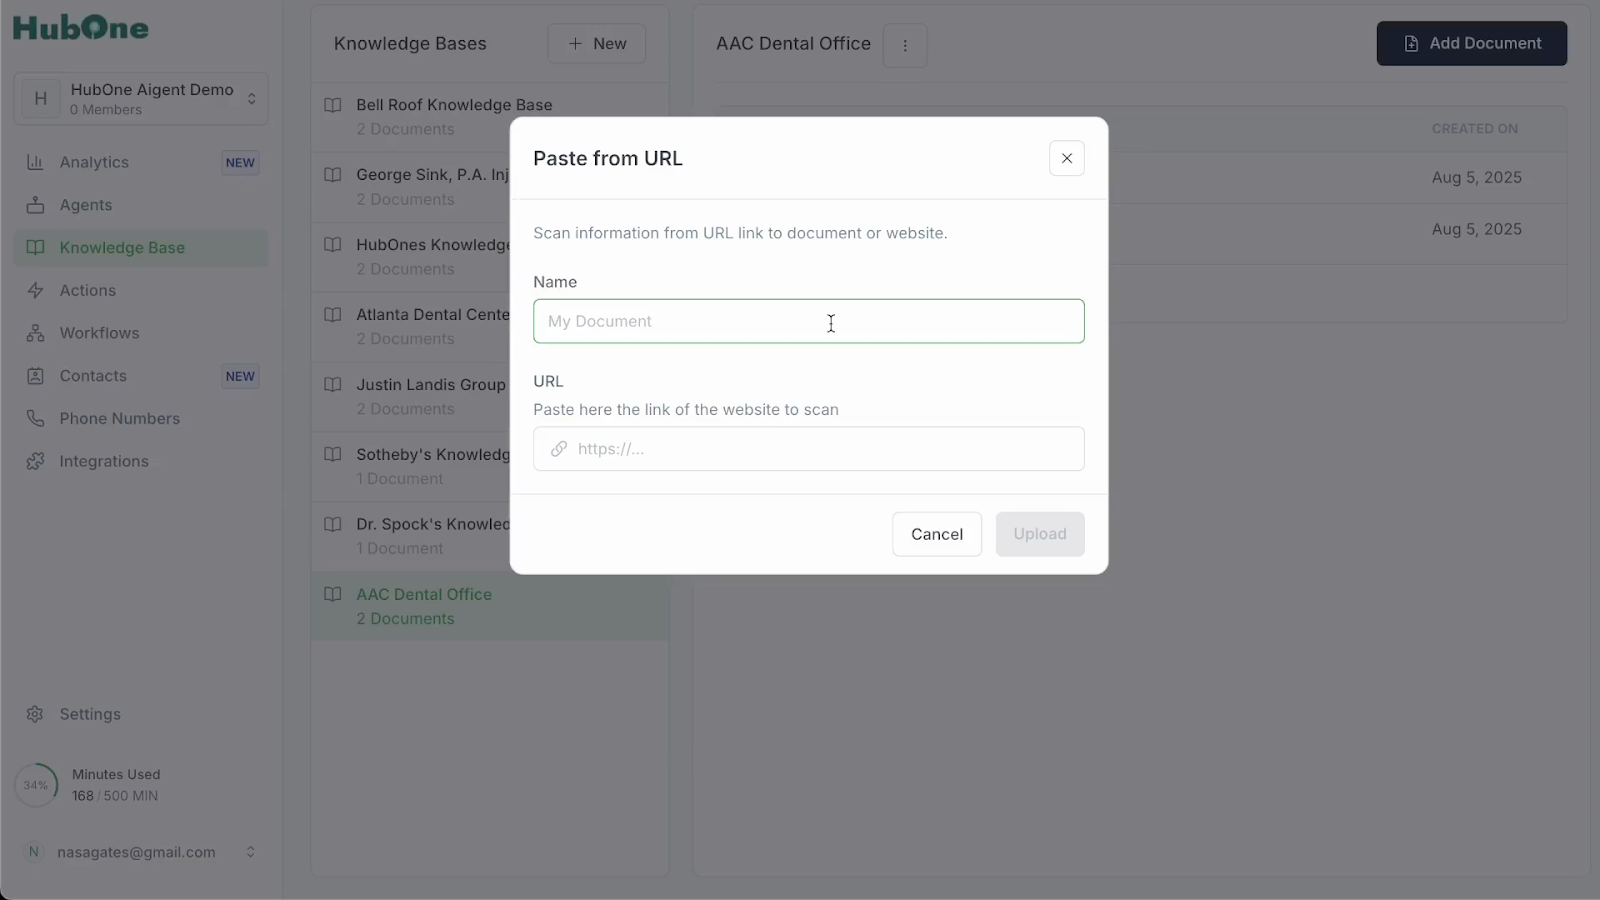
To add a link, choose the "Add link" option, and paste the full URL into the provided field. Ensure the link is relevant to your knowledge base category.
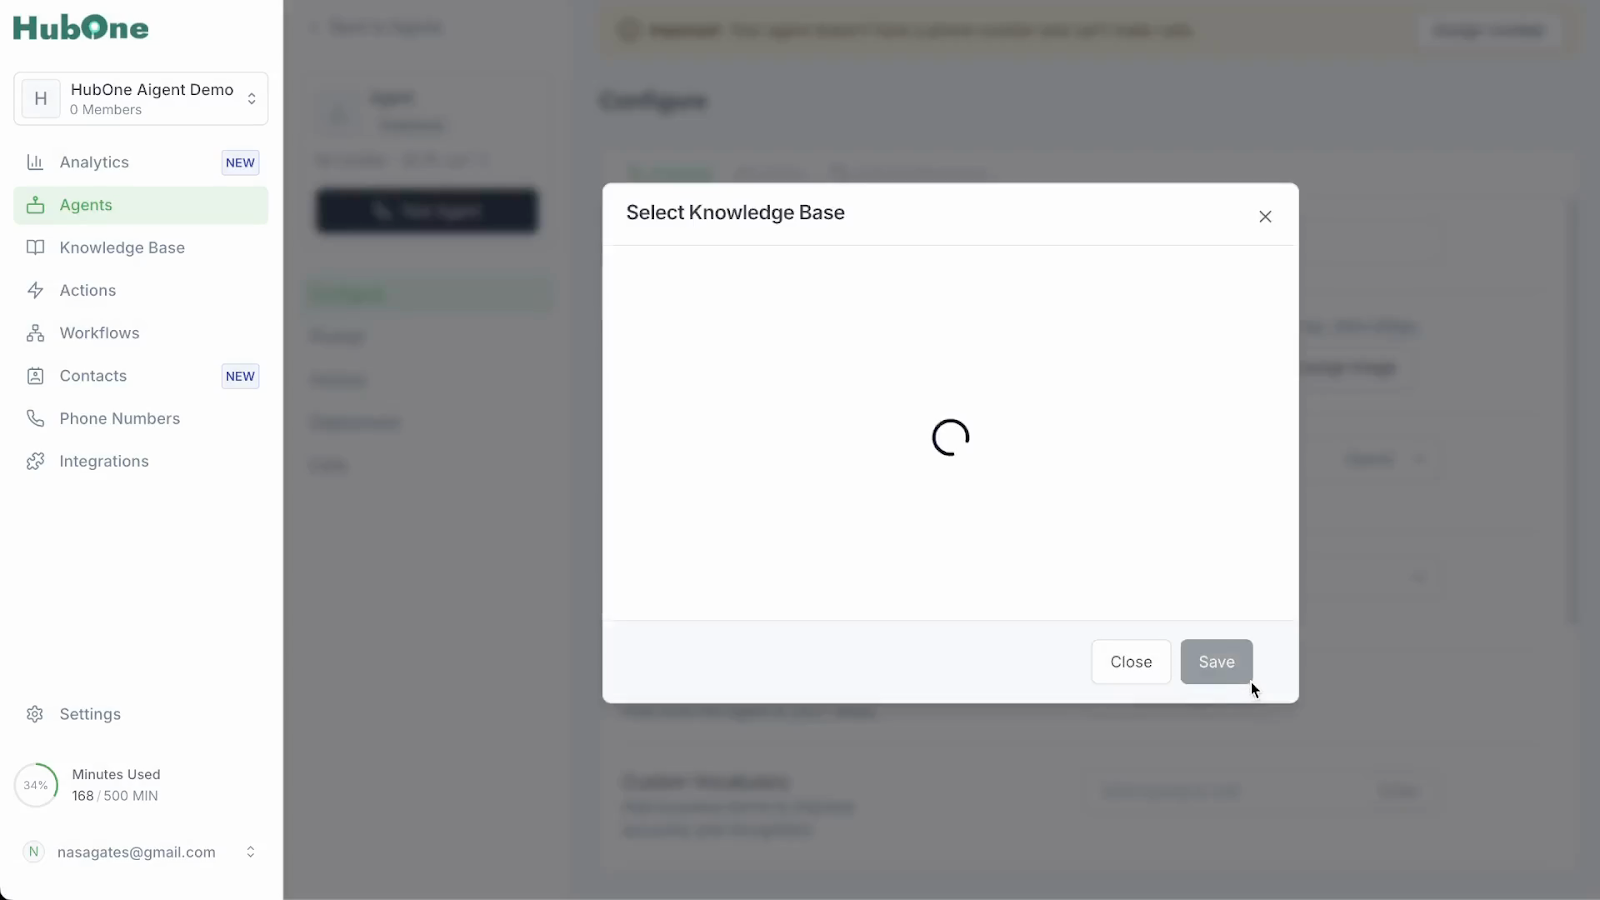
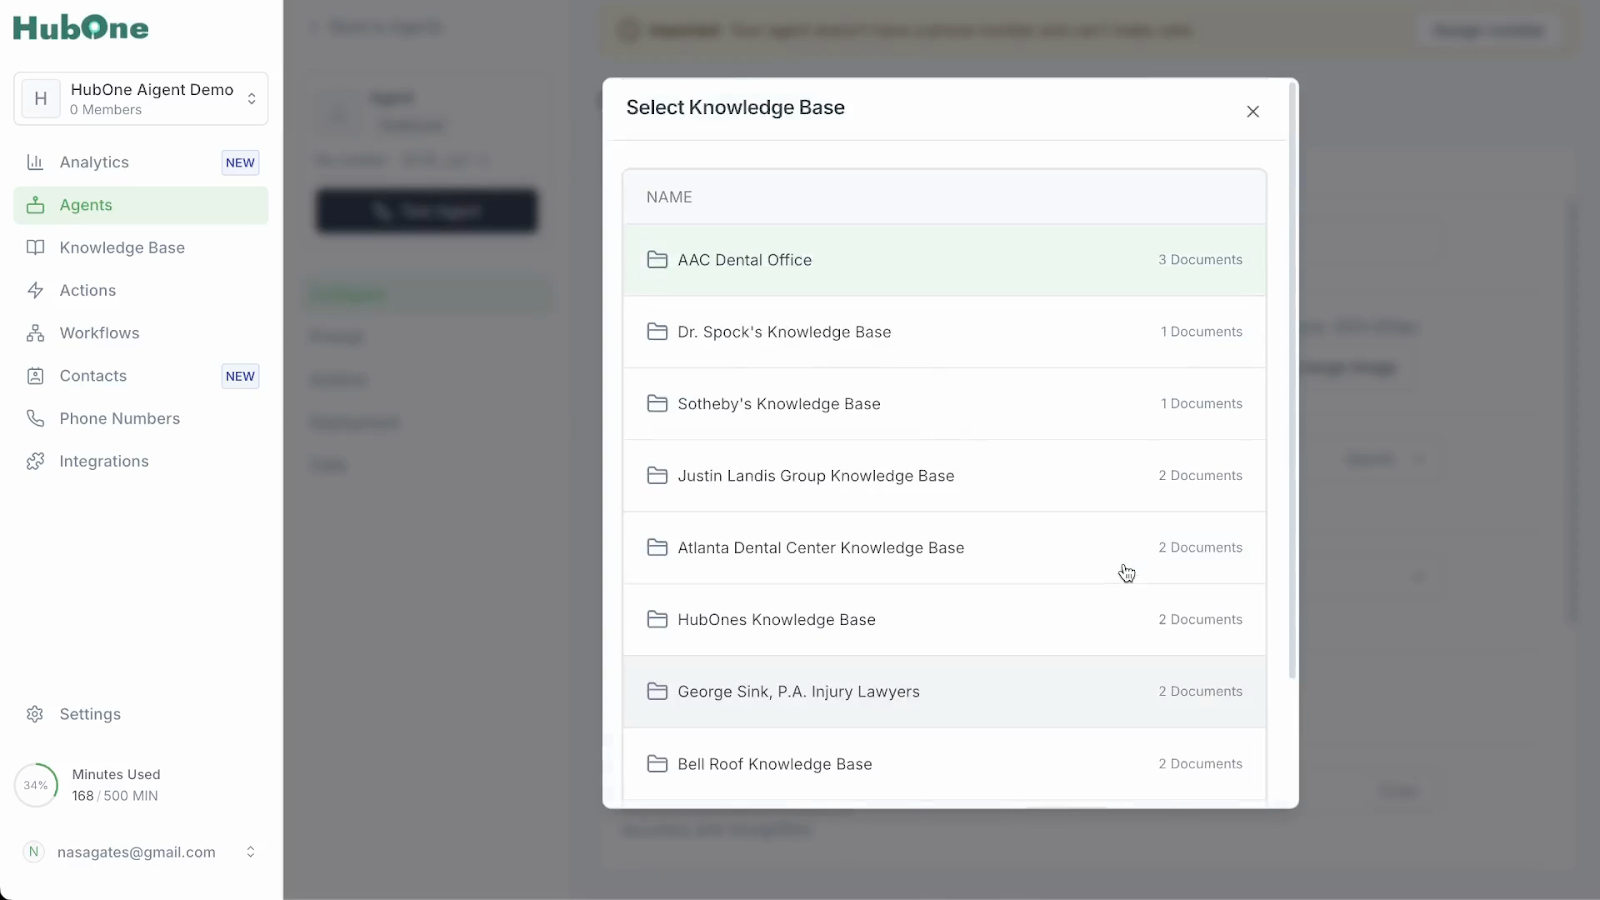
Assign your knowledge base to an agent. When your folder is populated with essential documents, return to the main agent management interface. Open the agent’s settings by clicking on their profile. - In the Configure section, navigate to the General tab. Look for a list or dropdown menu under the field labeled Knowledge Base. This menu displays all available knowledge bases you can assign to the agent.
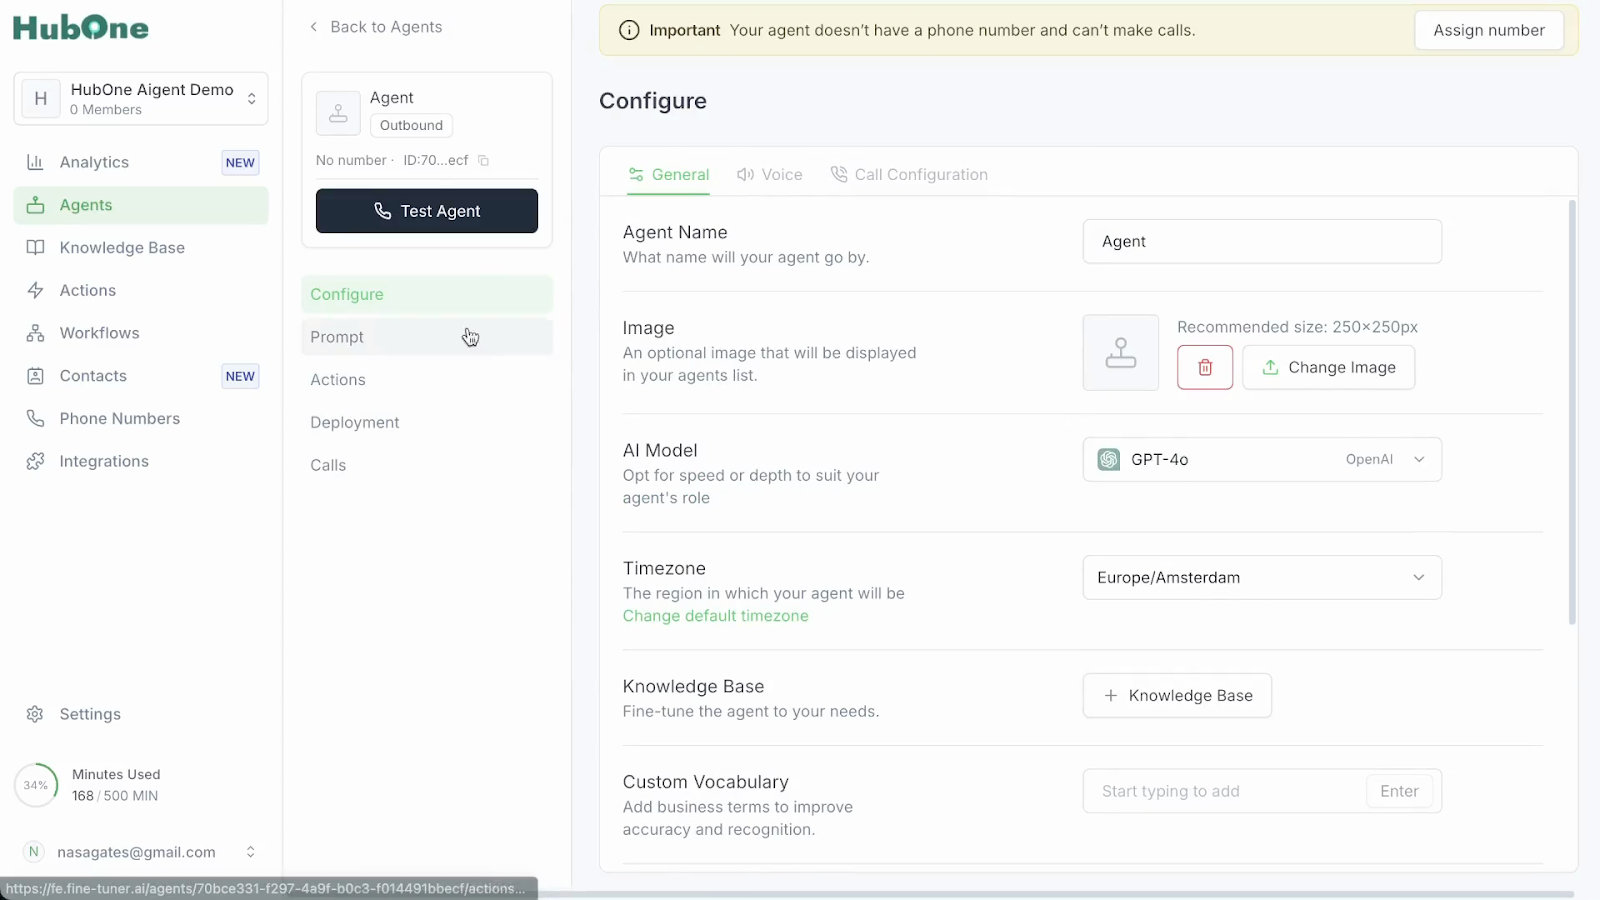
Select the knowledge base you just created from the menu to associate it with the agent.
After linking the knowledge base, locate and click the Save button to confirm your changes. The system will update the agent’s profile to reflect access to the new knowledge base.
Once complete, the assigned agent will automatically reference the knowledge base when handling relevant customer queries, ensuring they deliver accurate and helpful answers informed by your curated documents and resources.
