Navigate to Integrations:
Log in to your account.
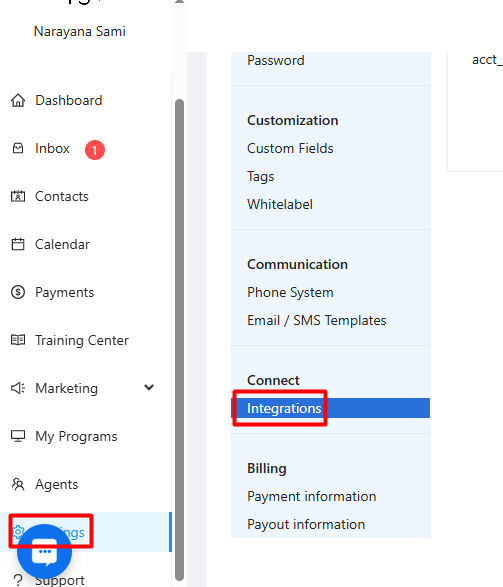
Click on Settings in the left-hand navigation menu.
Under the "Connect" section, click on Integrations.
Initiate Stripe Connection:
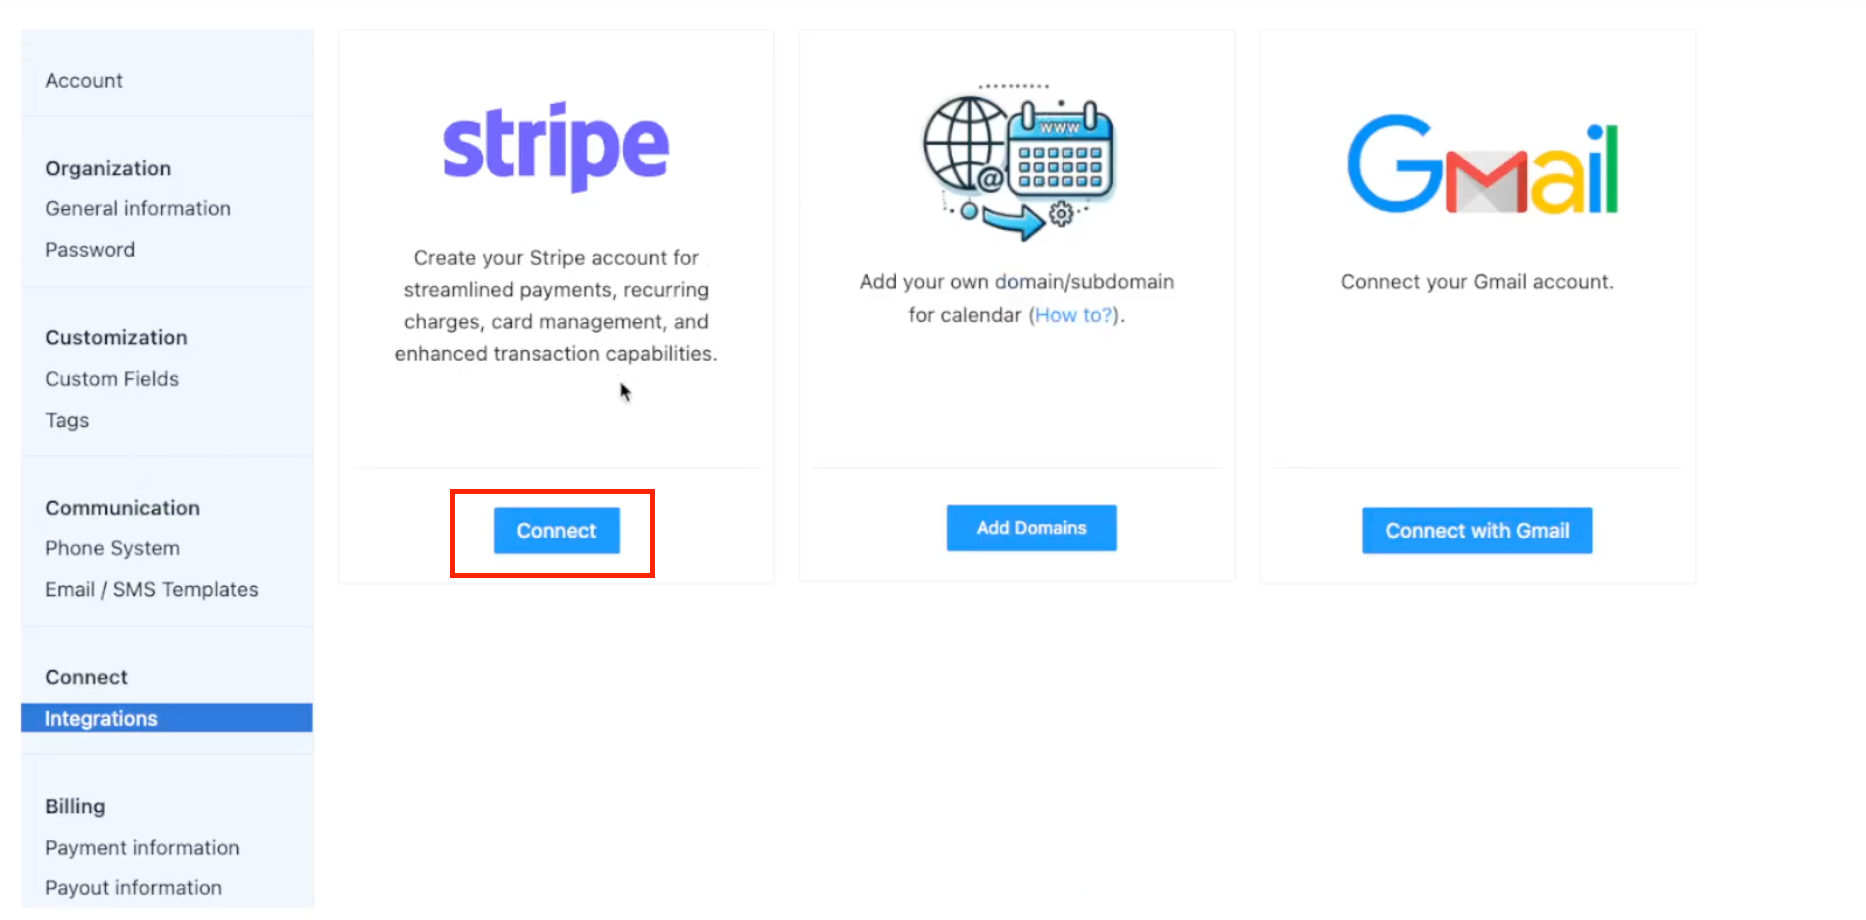
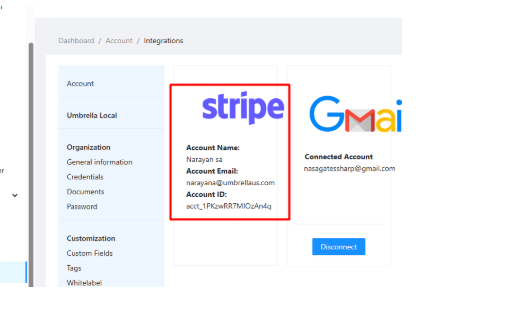
Locate the Stripe tab on the Integrations page.
Click the Connect button.
Initial Connection & Onboarding Prompt:
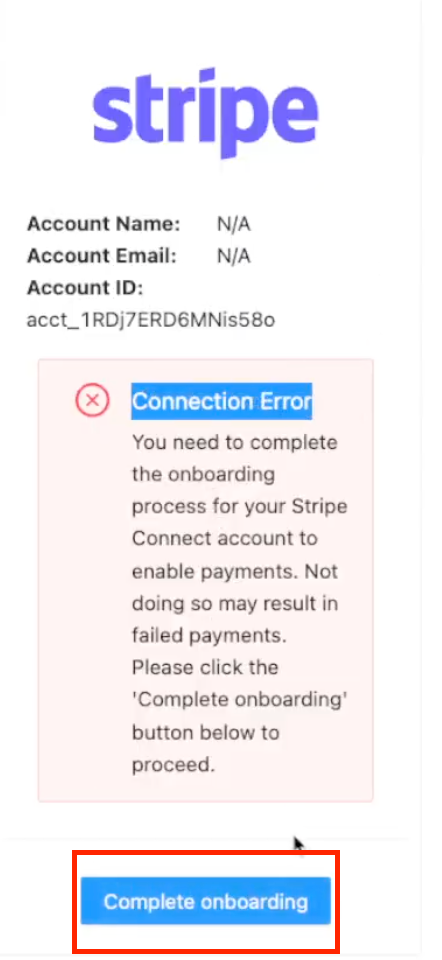
The system will establish an initial connection and display a placeholder Stripe Account ID.
You will likely see a "Connection Error" message stating that you need to complete the onboarding process with Stripe to enable payments and payouts. This is a necessary step required by Stripe.
Click the Complete onboarding button.
Stripe Onboarding Process:
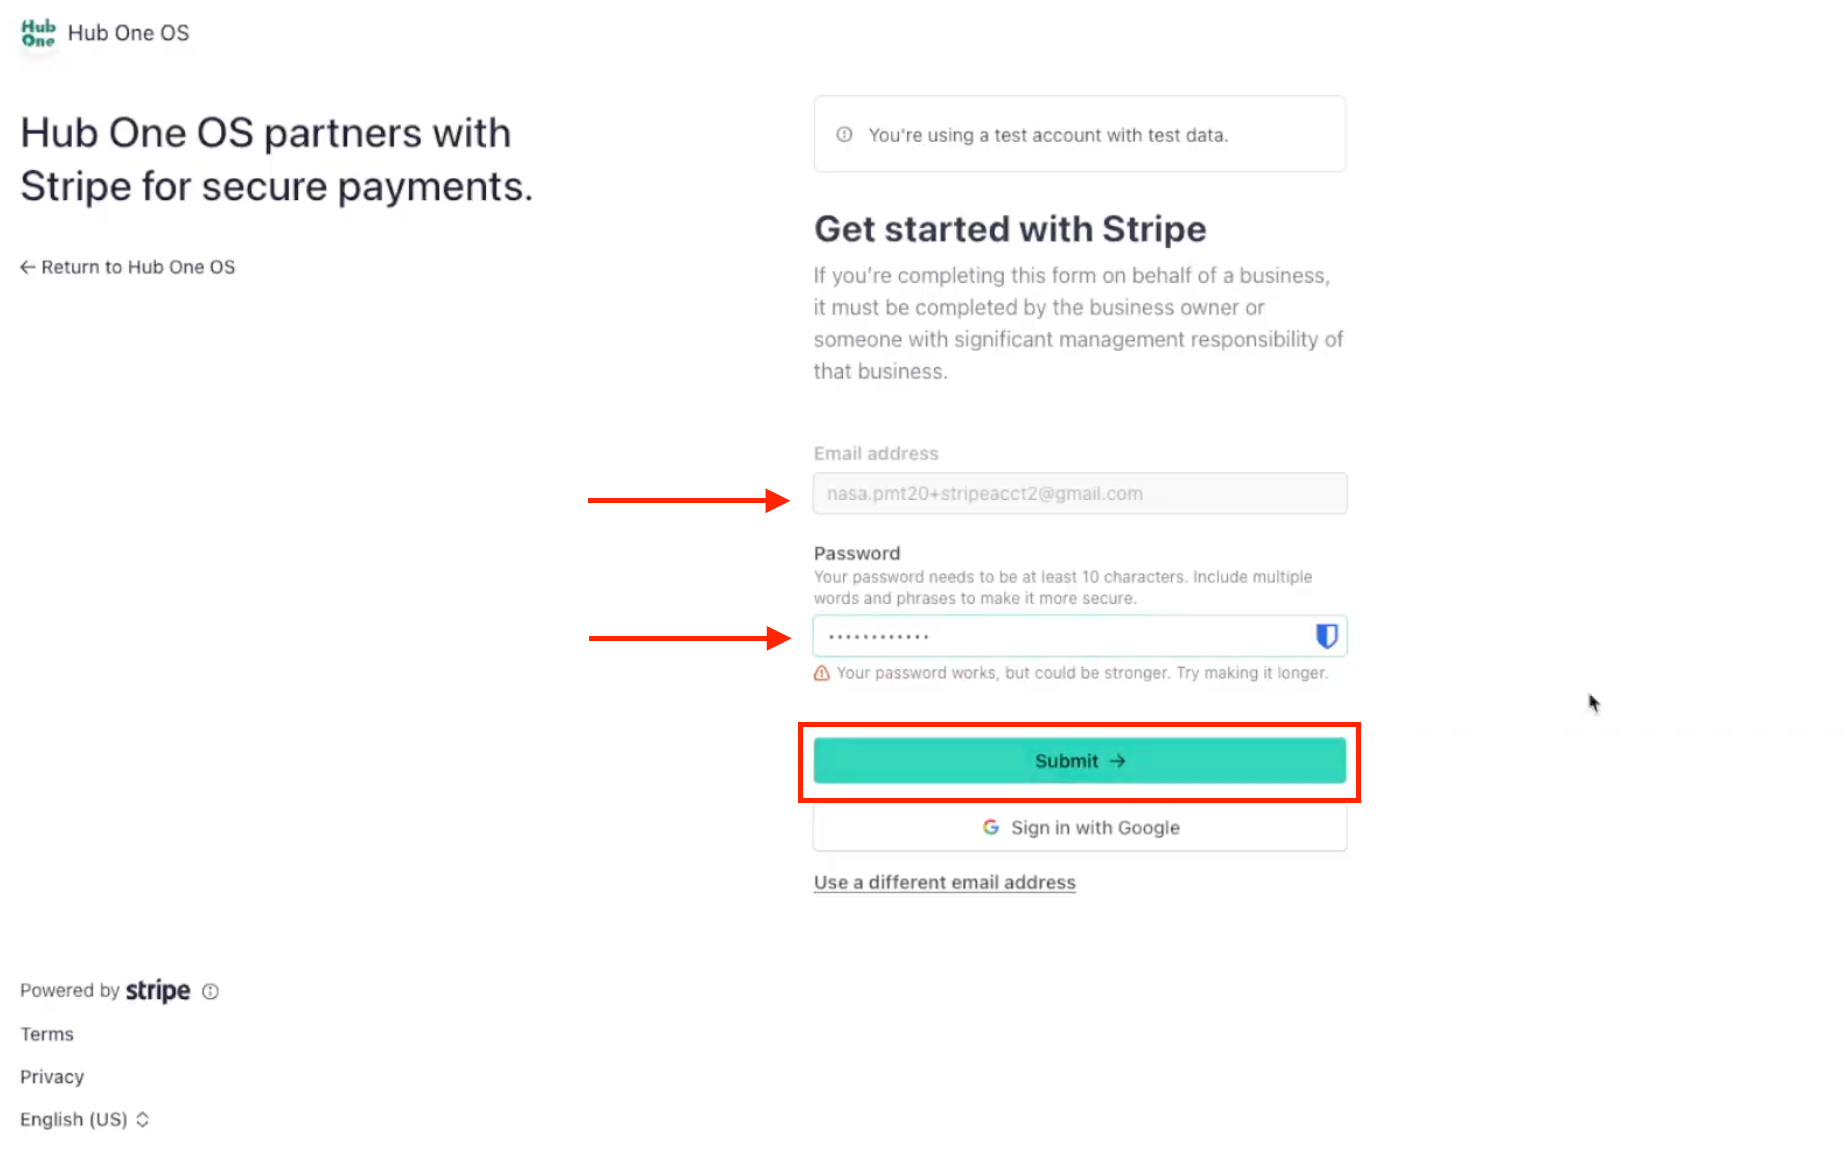
You will be redirected to a secure Stripe page to either create a new Stripe account or connect an existing one.
Enter Email: Provide the email address associated with your Stripe account (or the one you want to use for a new account). Click Submit.
Enter Password: Enter your Stripe password.
Two-Step Authentication: Complete any two-step authentication required by Stripe (e.g., using an authenticator app code, scanning a QR code).
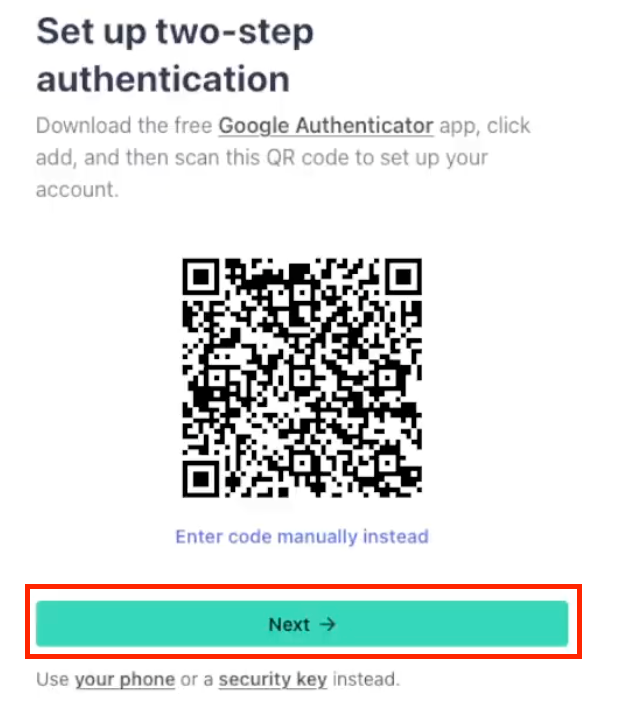
Backup Code: Stripe will provide an emergency backup code. Copy and store this code securely. Click Next.
Business Basics: Select your Business Location (e.g., United States) and Type of business (e.g., Individual). Click Continue.
Personal Details: Verify or enter your legal name, email, date of birth, home address, phone number, and the last 4 digits of your Social Security Number as required by Stripe for identity verification. Click Continue.
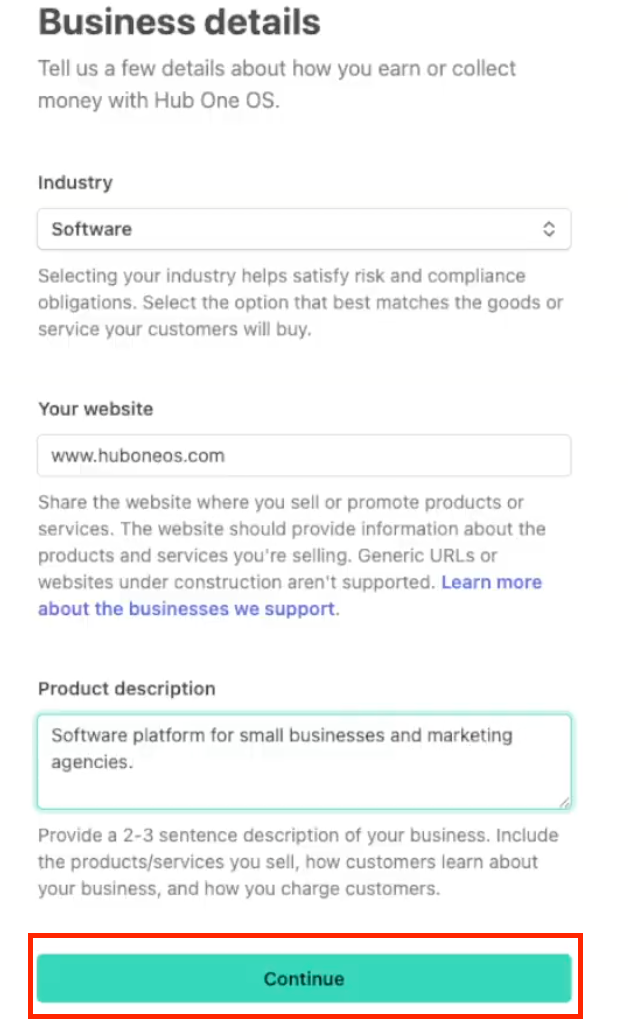
Business Details: Select your industry, enter your business website URL, and provide a product description. Click Continue.
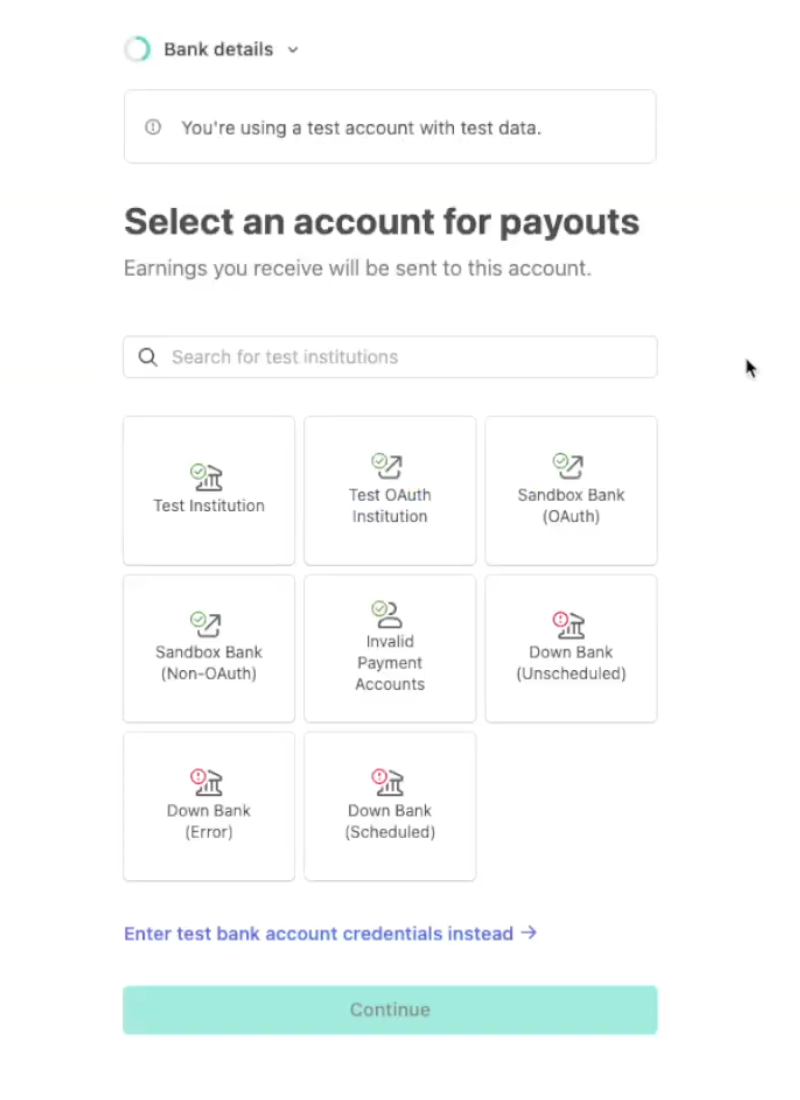
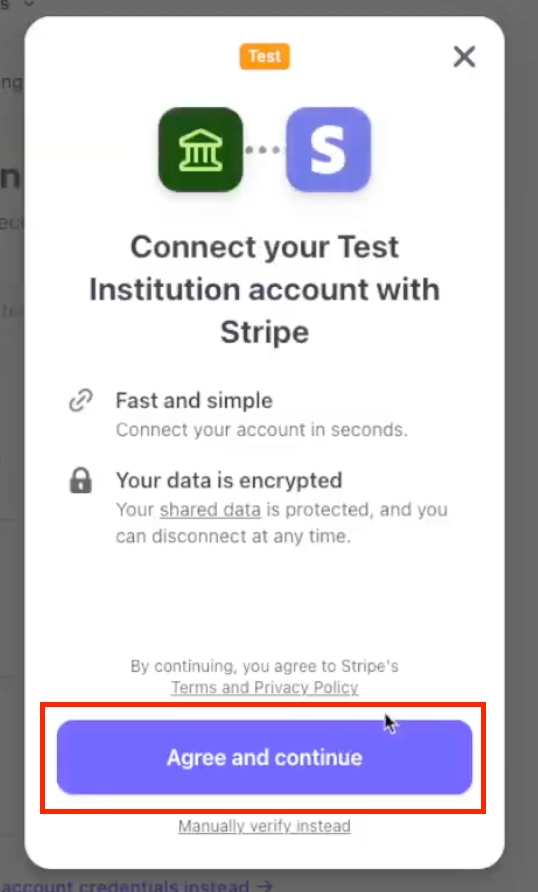
Payout Account: Select or connect the bank account where you want to receive payouts from Stripe. Choose your preferred payout schedule (e.g., Manual, Automatic weekly). Click Continue.
Optional Settings: Complete or skip optional settings like Stripe Climate contributions and Stripe Tax configuration. This is optional.
Review and Submit: Carefully review all the information you provided on the Stripe summary page. Click Agree and submit (or Confirm).

Return to Umbrella:
Once Stripe has processed the information, you will be redirected back to the Integrations page.
Verify Connection Status:
Refresh the Integrations page if necessary.
The "Connection Error" message should now be gone, and your connected Stripe Account Email and Account ID will be displayed on the Stripe card
Once your Stripe account is created you can configure your statement descriptor, locate and click on the Settings gear icon inside the Stripe dashboard.
Navigate to Business Settings: On the Settings page, find the "Account settings" section and click on Business.
Go to Business Details: Within the Business settings area, select the Business details tab.
Edit Public Details: Scroll down to the "Public details" section. You should see your current "Public descriptor" listed here. Click the Edit button located to the right of this section.
Update Statement Descriptor: A modal window titled "Add public descriptor details" will appear.
In this window, find the Statement descriptor field.
You may choose from Stripe's suggestions or select Custom descriptor from the dropdown menu to enter your own.
Type your desired text (e.g., your business name or a recognizable identifier) into the "Custom descriptor" field.
Save Changes: After entering your new descriptor, scroll to the bottom of the modal window and click the Save button to apply your changes.
